Lite NAS
Lite NAS is a unique feature of DASSET that allows your Windows or macOS computer to instantly act as a lightweight NAS. It enables seamless file interaction between the DASSET client and your computer. The key functions of Lite NAS include:
- Instantly turn your computer into a personal cloud drive
- Designate directories on your computer for remote access
- Access your computer files securely, quickly, and from anywhere
Starting Lite NAS
When DASSET is running on your computer, you will see your current device listed on the Discovery page. From there, enter Manage and follow a few simple steps to initialize Lite NAS.
- On the Discovery page, click Management on your computer device icon.
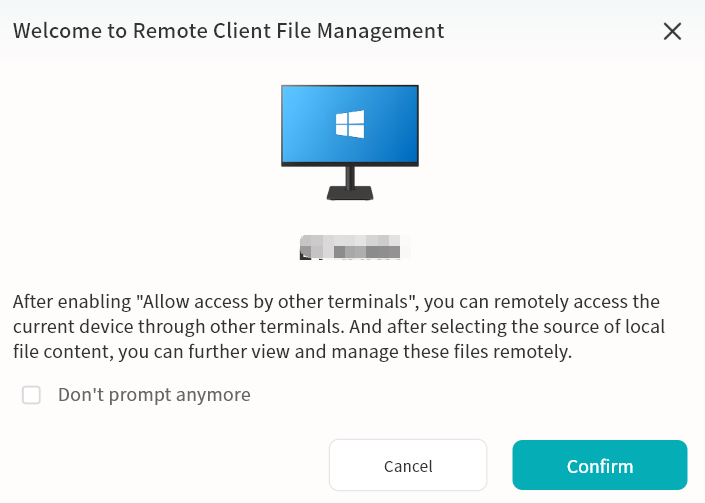
If your operating system prompts for service permissions, click Allow to ensure proper Lite NAS functionality.
 2. Click Confirm to enter the Lite NAS settings page.
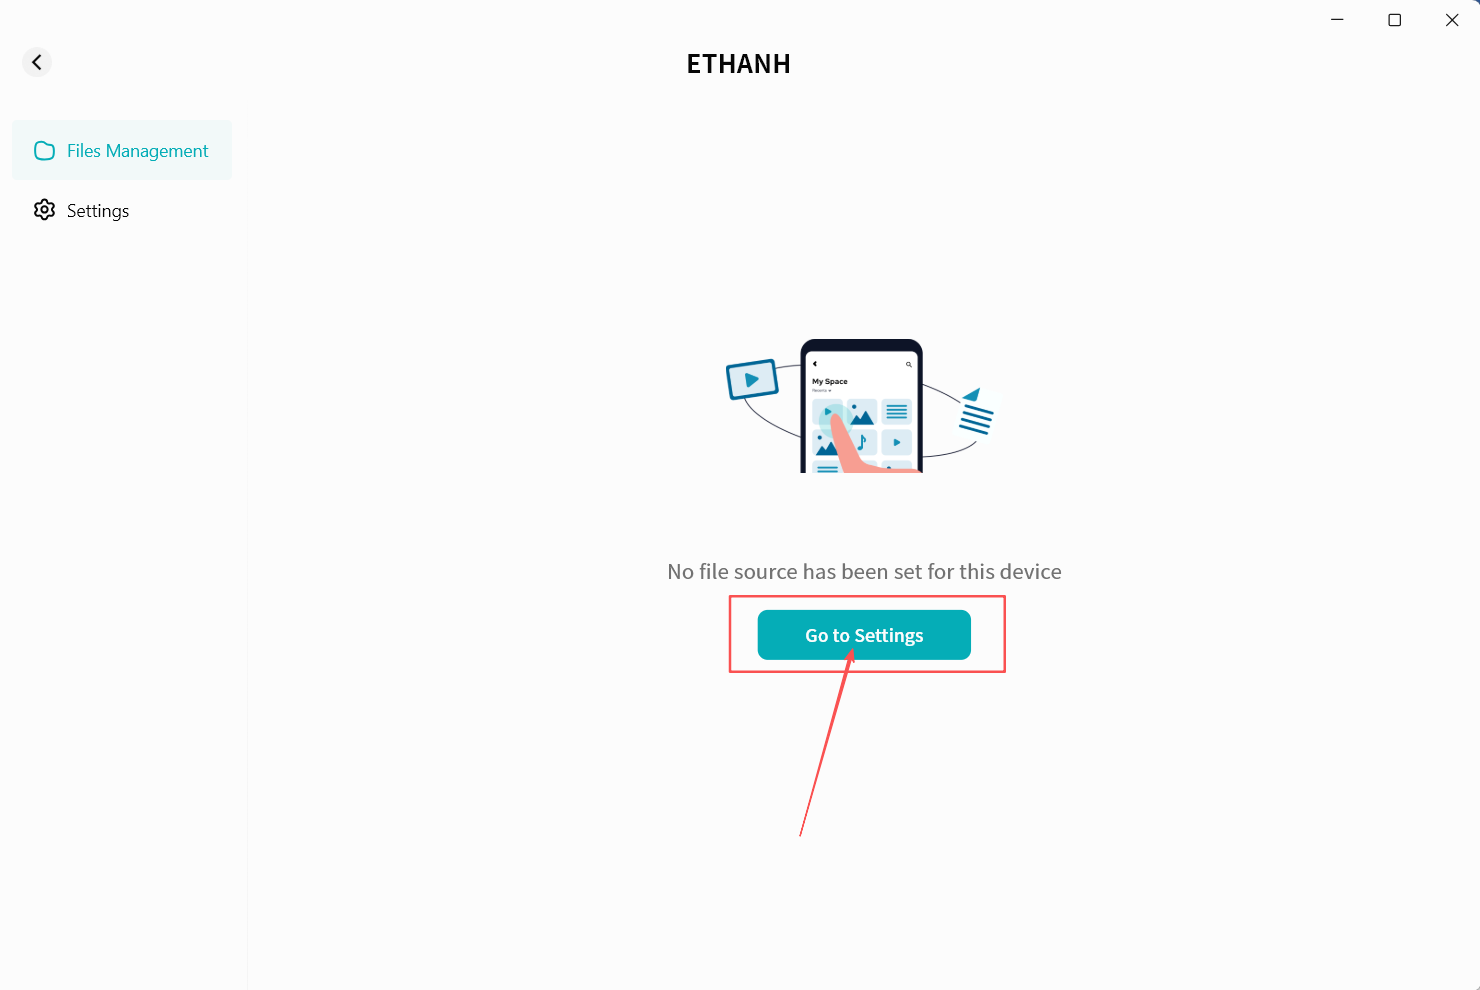
 3. For first-time use, complete the necessary Lite NAS configuration by clicking Go to Settings.
Lite NAS Settings
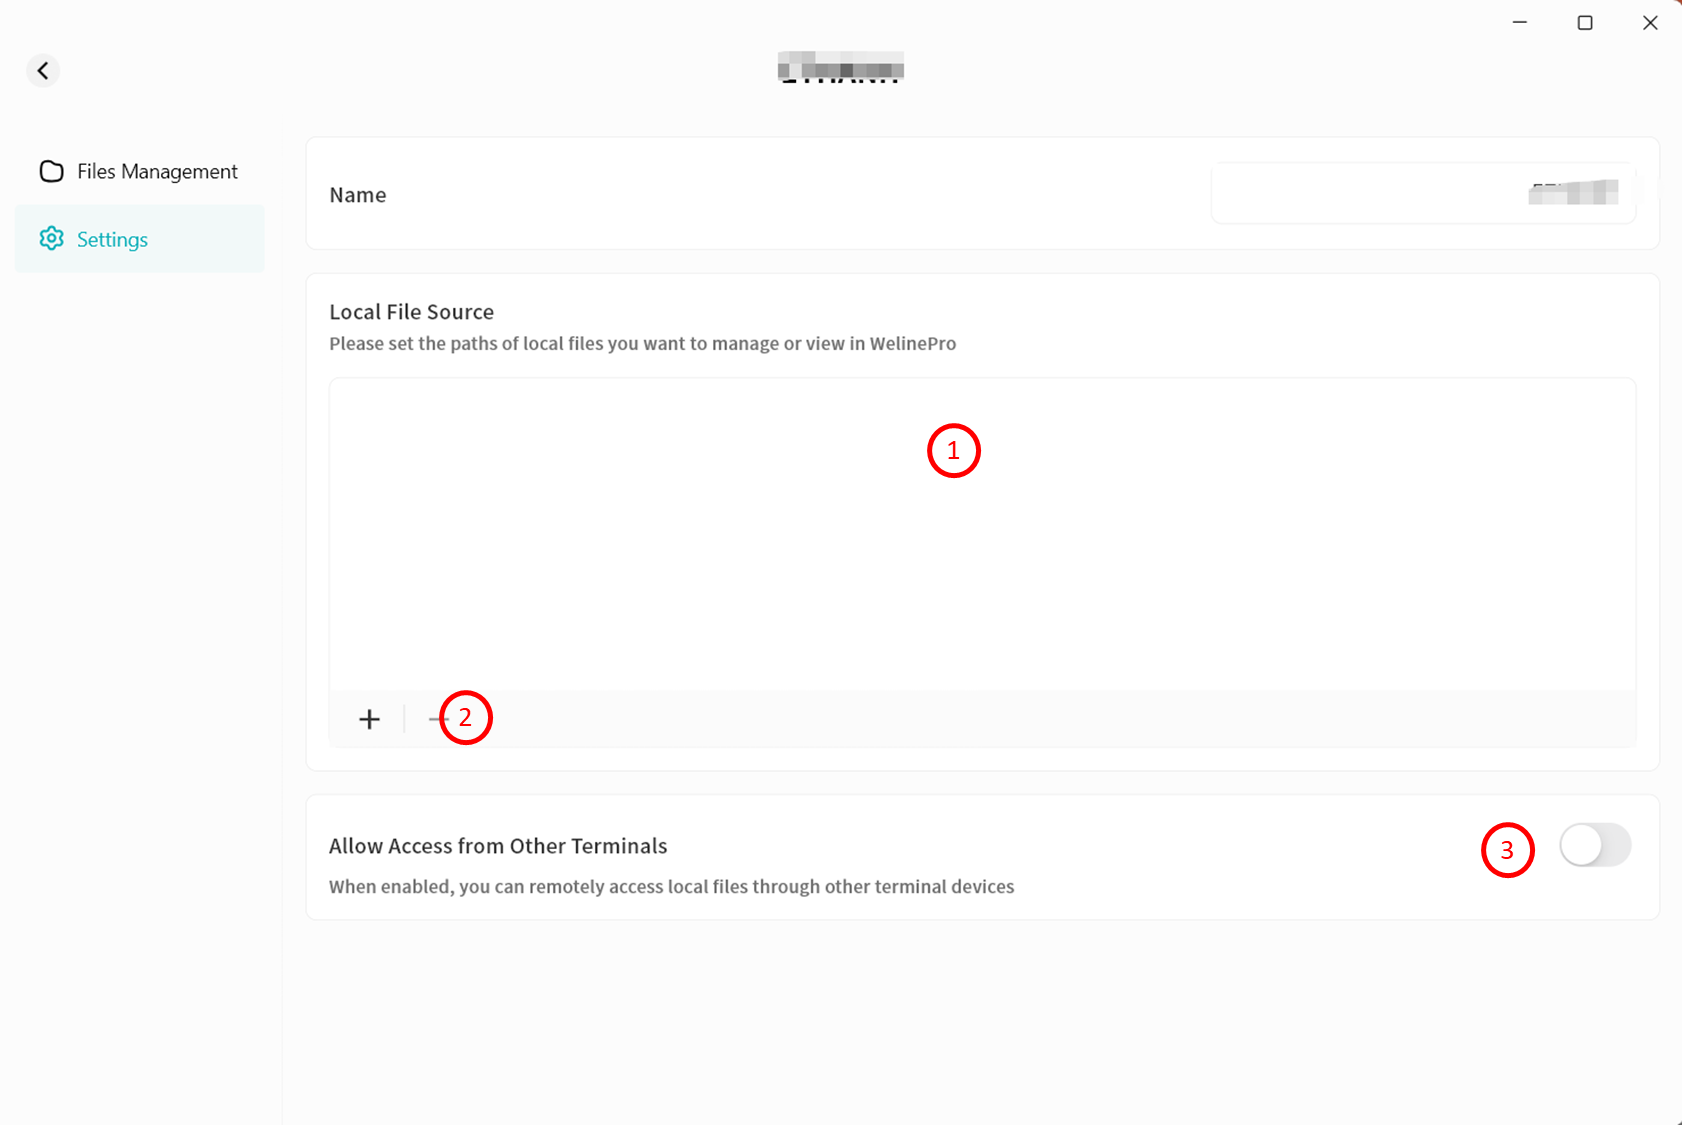
On the settings page, you can configure directories for remote access and choose whether to allow access to these directories from the DASSET app on other devices.
- Directory Display Area: Shows all computer directories currently enabled for Lite NAS.
- Add/Remove Directories: Use the + and -- buttons to add new directories for Lite NAS or remove existing ones.
Avoid adding entire drives to Lite NAS to prevent excessive indexing that may impact performance.
- Allow Access from Other Terminals: Allow your account to access these directories from other terminals running the DASSET app.
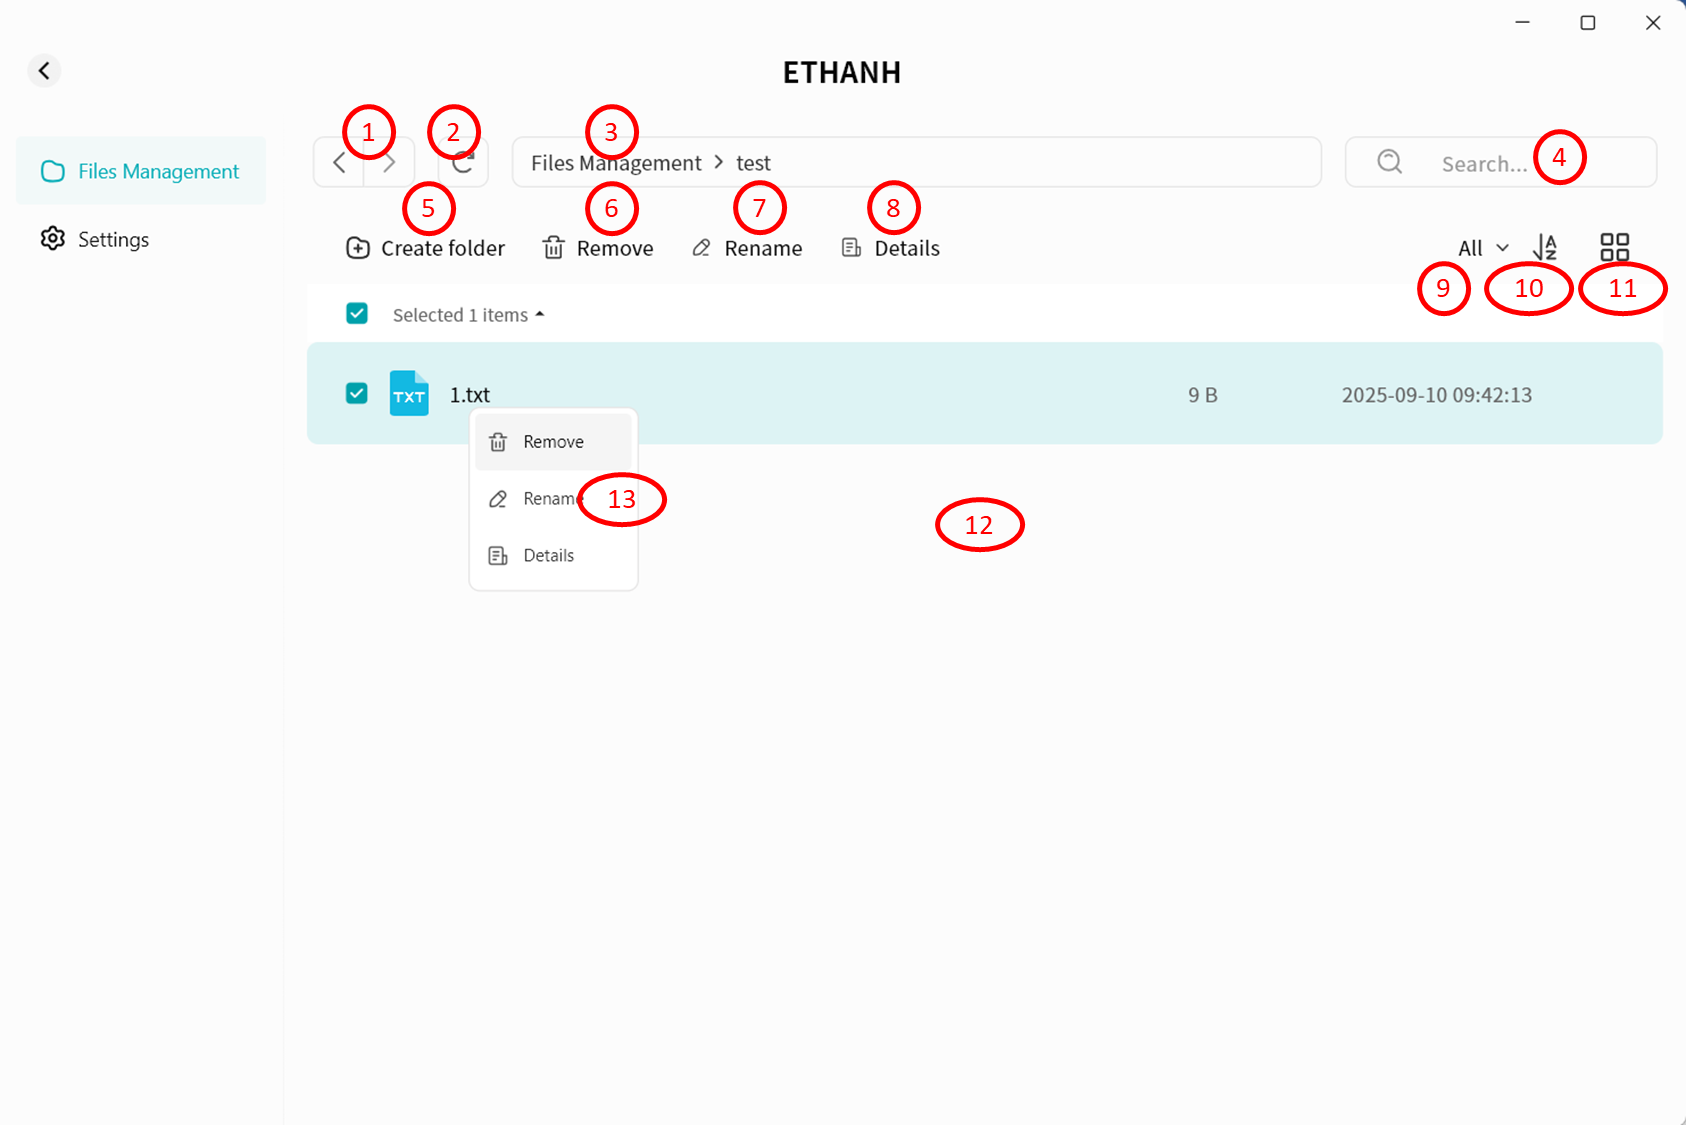
Lite NAS File Management
In the File Management interface, you will see the directories you configured in Settings.
 Available operations include:
- Navigate forward/backward within directories
- Refresh file list
- View file path
- Search files by keyword
- Create folder
- Remove files or folders
- Rename files or folders
- View file details
- Categorize files (pc-images, videos, audio, documents, compressed packages)
- Sort files by name, size, or modification time
- Switch between list view and grid view
- Browse the file list
- Right-click menu for delete, rename, or details
Accessing Lite NAS from Other Terminals
From DASSET Desktop Client
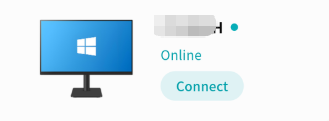
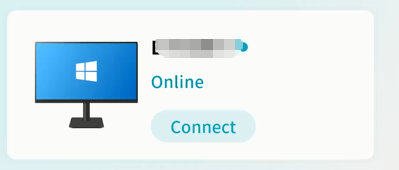
Remote Connection
- On the Discovery page, click Connect on the Lite NAS icon.
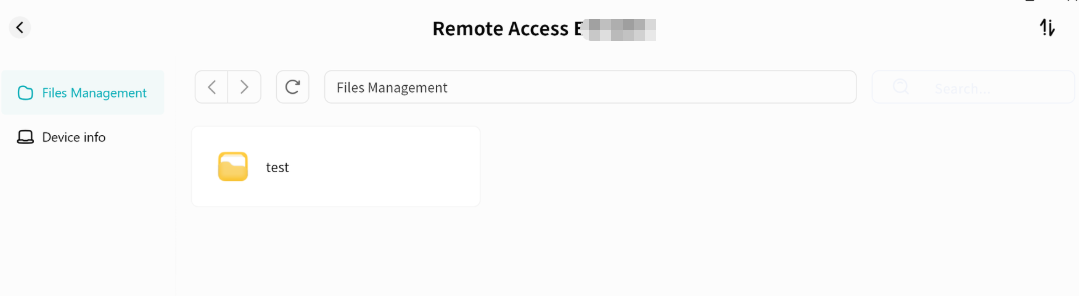
- Enter the Lite NAS interface:
- File Management: Access configured Lite NAS directories
- Device Information: View terminal details running Lite NAS
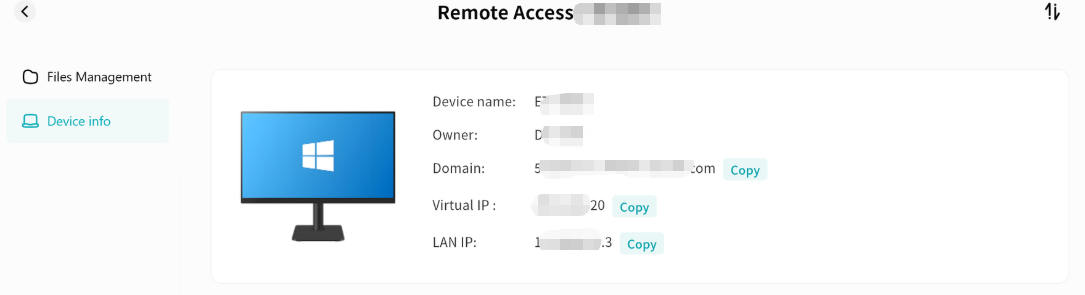
Viewing Device Information
Displays device name, Owner account, virtual domain name, virtual network IP, and LAN IP.
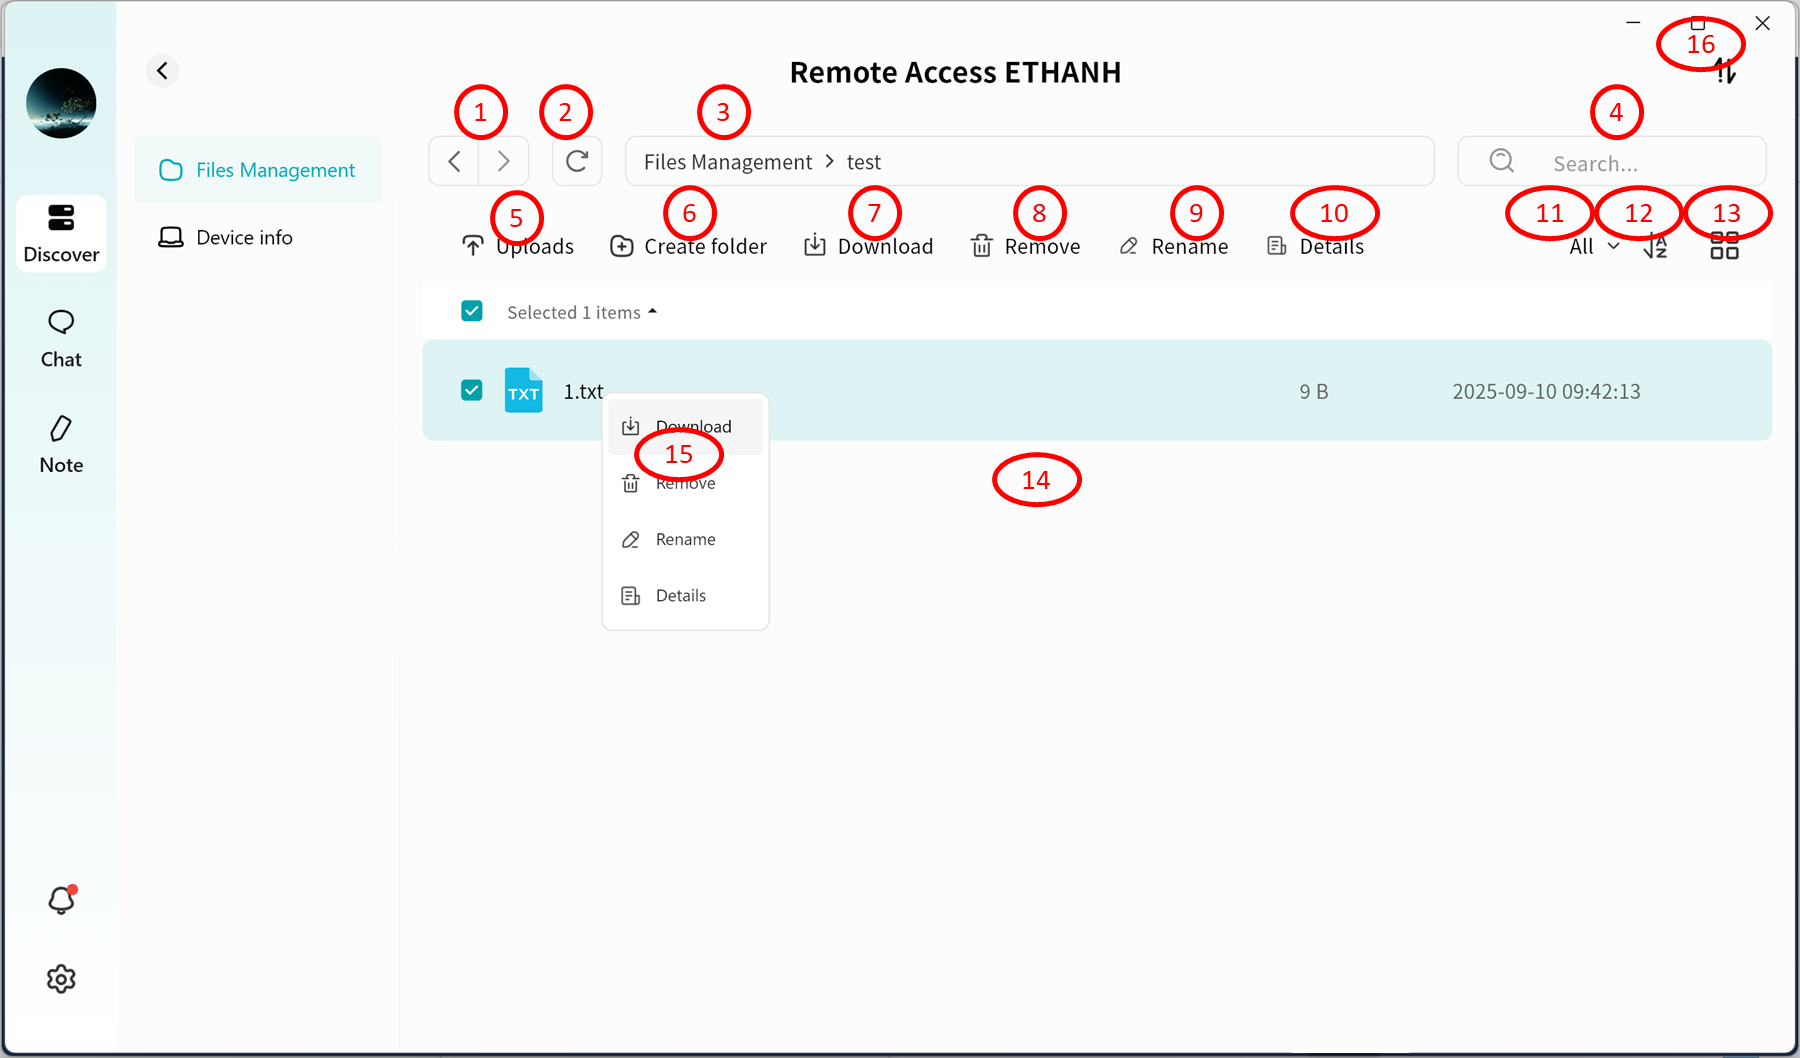
Remote File Access
Within the Lite NAS file manager, you can:
- Navigate directories
- Refresh file lists
- View file paths
- Search by keyword
- Upload files and folders
- Create folders
- Download
- Remove files and folders
- Rename items
- View file details
- Categorize files (pc-images, videos, audio, documents, compressed packages)
- Sort files by name, size, or modification date
- Switch between list and grid views
- Browse the file list
- Use right-click menu for download, delete, rename, or details
- Open Task Center to track upload and download progress
From DASSET Mobile App
Remote Connection
- On the Discovery page, tap Connect on the Lite NAS icon.
- Enter the Lite NAS interface:
- View configured directory list
- Access Task Center for upload/download progress
- Enter settings
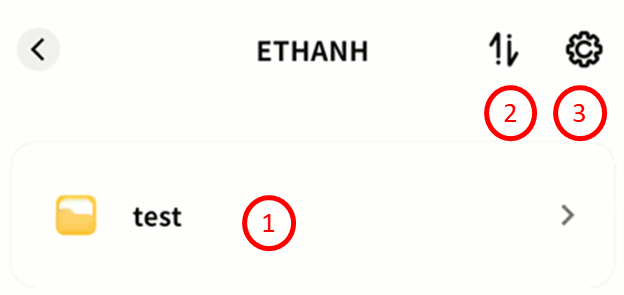
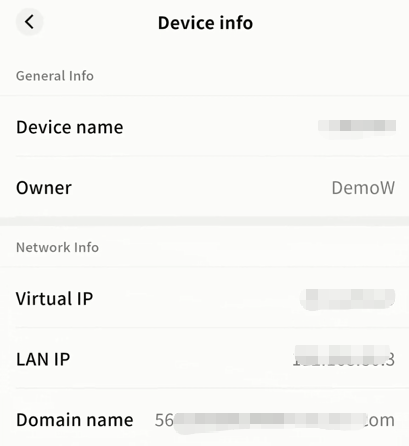
Viewing Device Information
Tap the gear icon Set up to see device name, Owner account, virtual domain name, virtual IP, and LAN IP.
Remote File Access
On the Lite NAS file manager, you can:
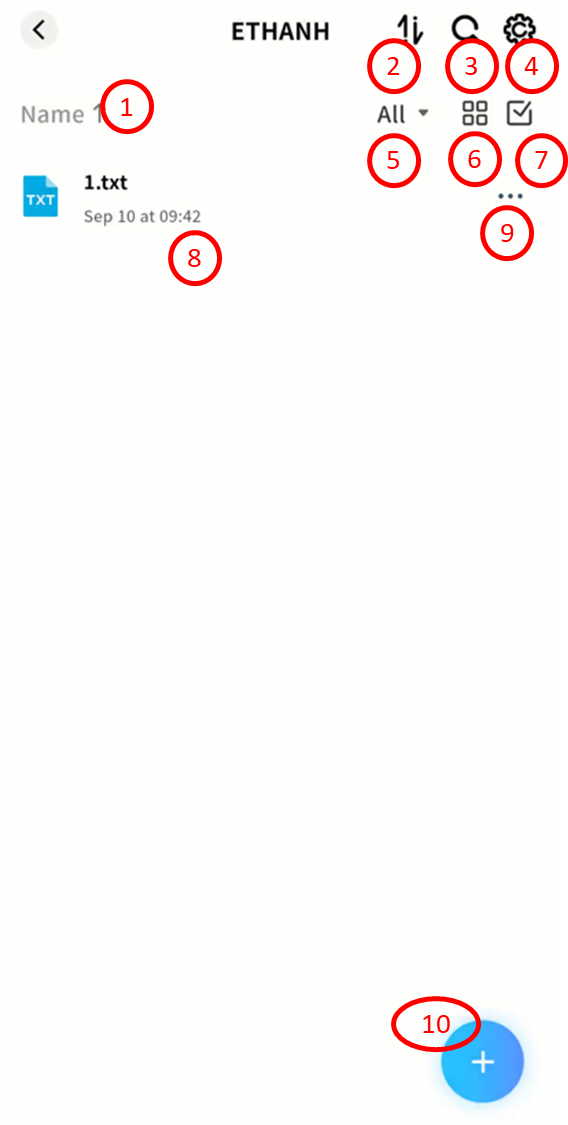
- Sort files by name, date, or size
- Access Task Center to monitor transfers
- Search files by keyword
- Enter settings
- Categorize files (pc-images, videos, audio, documents, compressed packages)
- Switch between list and grid views
- Enable multi-select mode
- Browse the file list
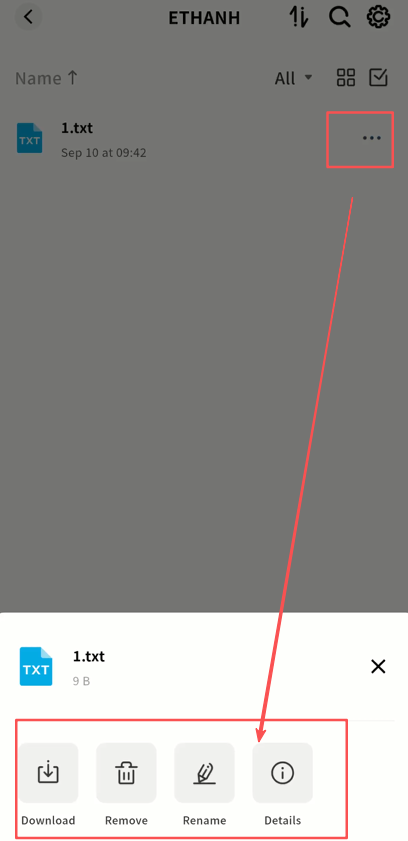
- Open file menu for download, delete, rename, or details
- Use the + button to upload files, upload photos/videos, or create new folders