Disk Management
After binding, when you enter the device for the first time, you will be prompted to perform a hard disk format:
- Insert the hard disk into your DASSET device.
- From the Discover, click your device to enter.
- You will see a format prompt. Click Confirm.
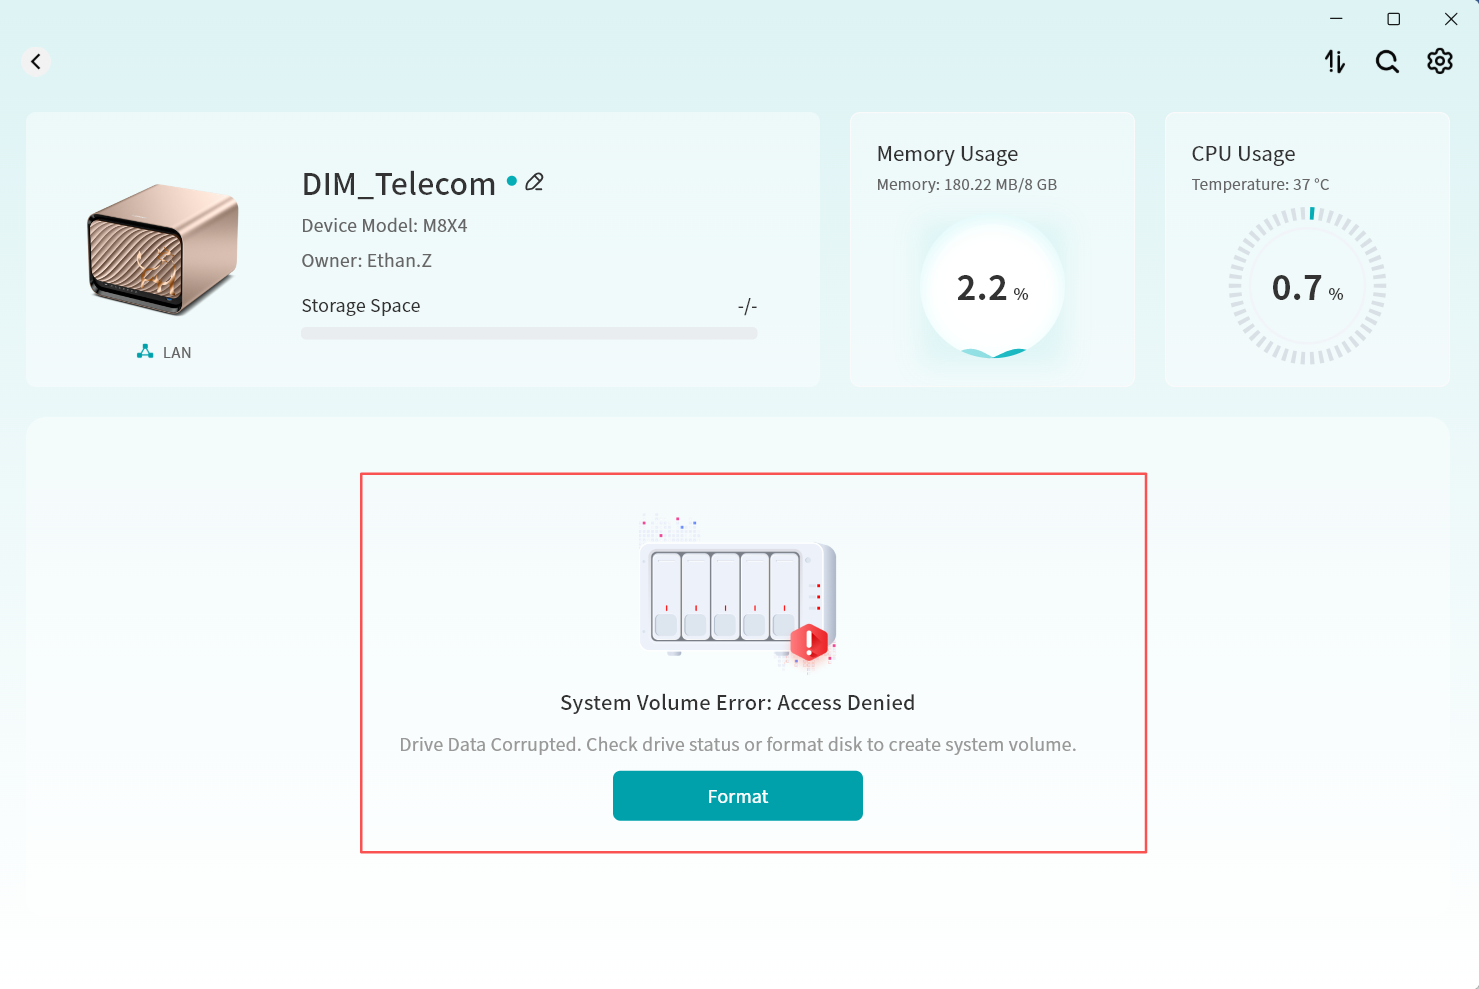
- The DASSET client will redirect to Device Management Disk Management. Click Format and Rebuild System Volume.
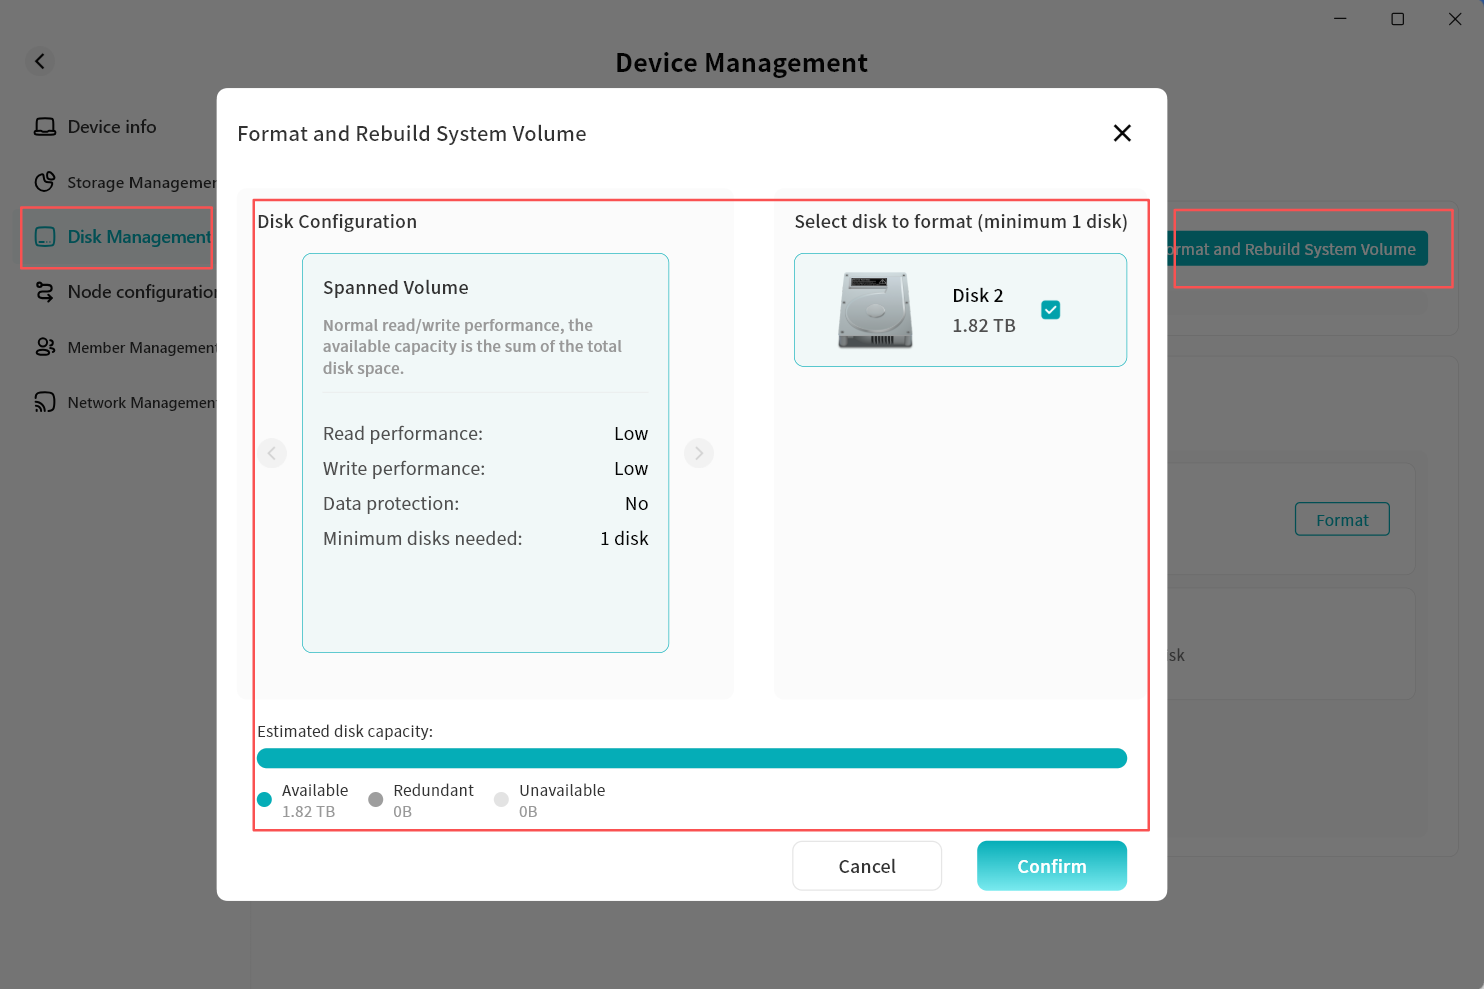
- Select the disks you wish to format and the desired disk format, then click OK.
- Disk format options include:
- Spanned Volume: Basic mode; available capacity equals the sum of all disks, with no redundancy.
- RAID 0: Optimized read/write performance; available capacity equals the sum of all disks, with no redundancy.
- RAID 1: Two disks required; available capacity equals the smaller of the two disks, with redundancy.
- RAID 5 (Recommended): Minimum of three disks; available capacity equals the combined capacity of two data disks, with redundancy.
- The disk format page will display the estimated capacity based on the chosen mode.
- The system will begin formatting. Depending on the number and size of disks, formatting may take a few minutes.

- Once formatting is complete, a confirmation message will appear. Click OK to start using your DASSET device.
Disk Management
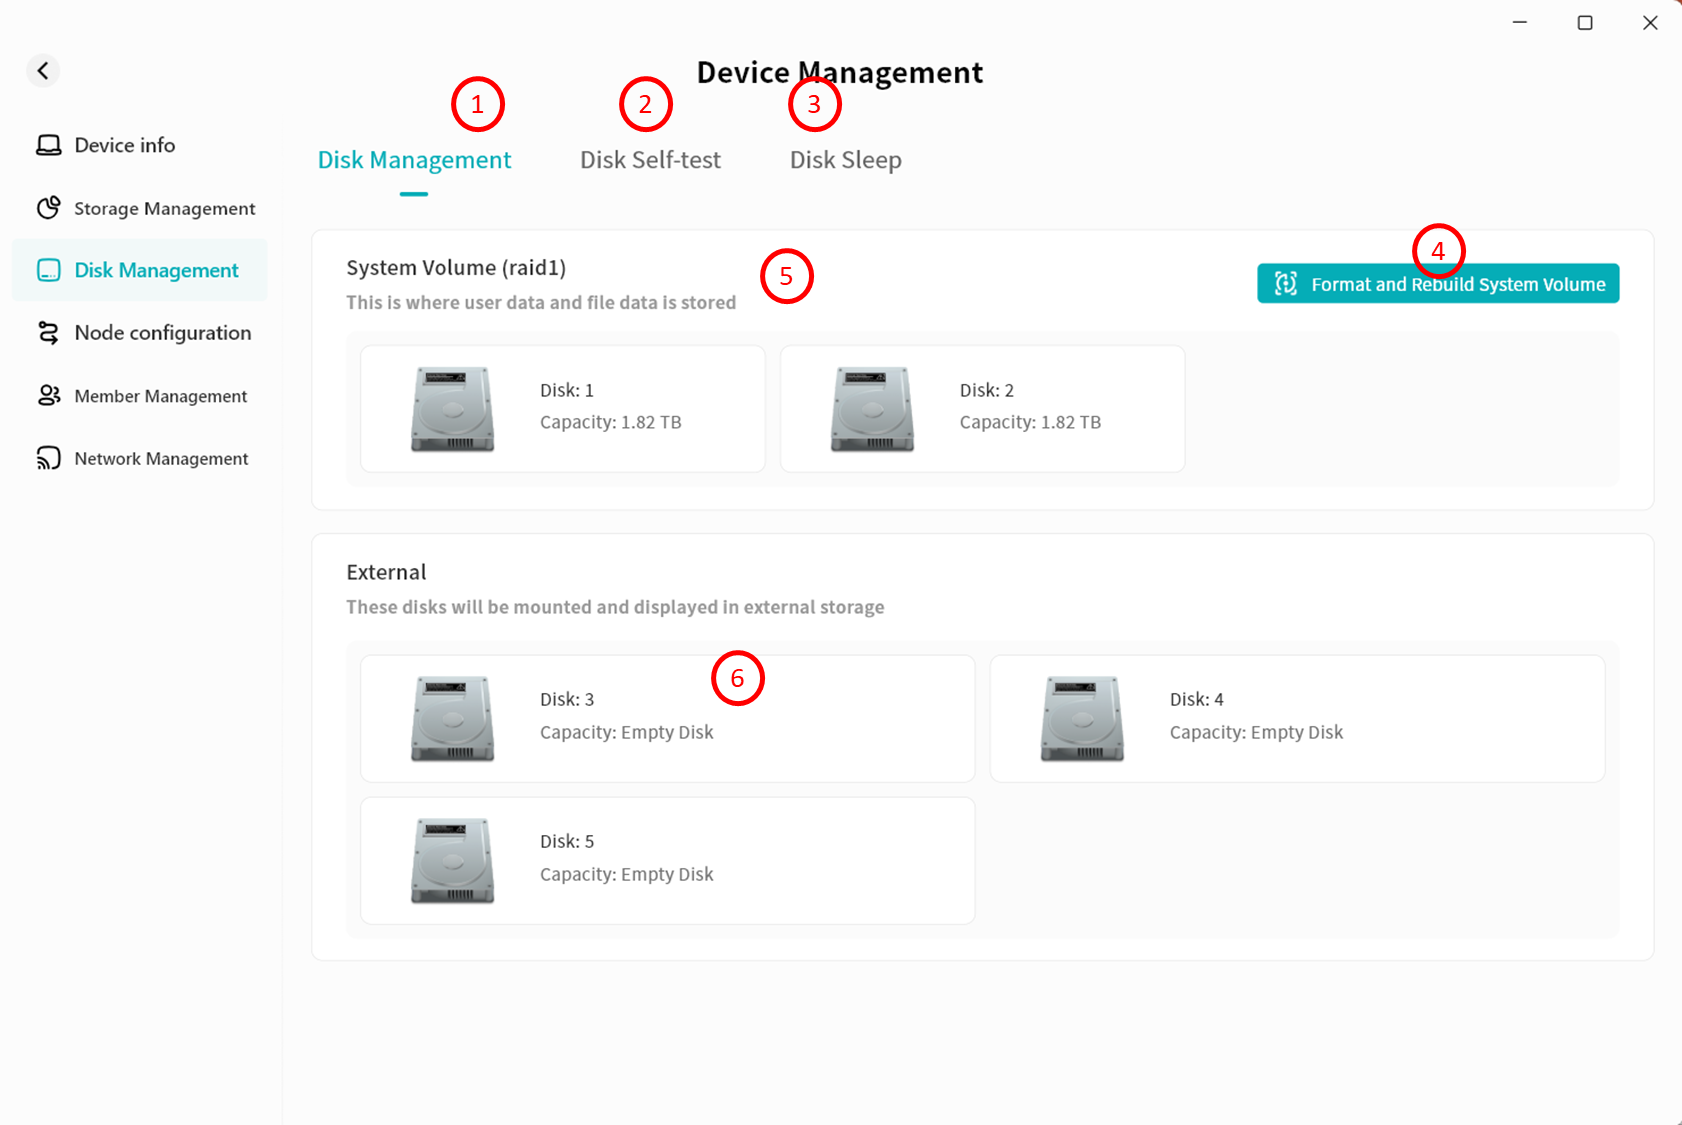
In Disk Management, you can view information about all hard drives currently inserted into the DASSET device and configure them accordingly.
- Disk Management: Configure system volumes, format disks, and display disk capacity and status.
- Disk Self-Check: Inspect the health status of the disks.
- Disk Hibernation: Configure hard drive sleep mode.
- Format and Rebuild System Volume: Reformat all or selected hard drives with a new disk format.
- System Volume Status Display: Show the current status of the system volume, including the number of drives.
- External Disks: Newly connected drives that are not part of a rebuilt system volume are displayed here. After formatting, these drives can be used as external storage under External Storage.
Format and Rebuild System Volume
When replacing or adding new hard drives, if you do not wish to use them as external storage, you can choose Format and Rebuild System Volume.
- Go to Device Management - Disk Management and click Format and Rebuild System Volume.
- In the pop-up window, select a new disk format. DASSET devices support multiple disk formats:
- Spanned Volume: Basic mode; available space equals the sum of all disks, no redundancy.
- RAID 0: Optimized read/write performance; available space equals the sum of all disks, no redundancy.
- RAID 1: Two disks required; available space equals the smaller of the two, with redundancy.
- RAID 5 (Recommended): Minimum of three disks; available space equals the combined capacity of two data disks, with redundancy.
- RAID 10 (Recommended): Minimum of four disks; available space equals the combined capacity of the smaller group of two, with redundancy. The disk format interface will display the estimated capacity based on the selected mode.
- Click Confirm to start formatting. Please wait patiently.
In RAID modes, after formatting, the disk status may show Synchronizing. This indicates internal disk configuration. You can still perform normal operations such as file upload and download. The Synchronizing status does not affect your ability to use your DASSET device, although read/write operations may be slower until all disks are synchronized.
When the device is performing formatting operations, you will also see the device status on the Device List page.
Add External Disk
When inserting a new hard drive, if you do not wish to rebuild the system volume (which would erase existing disk data), you can configure the drive as an external disk.
- Go to Device Management Disk Management, where the newly added disk will be shown as Pending Configuration.
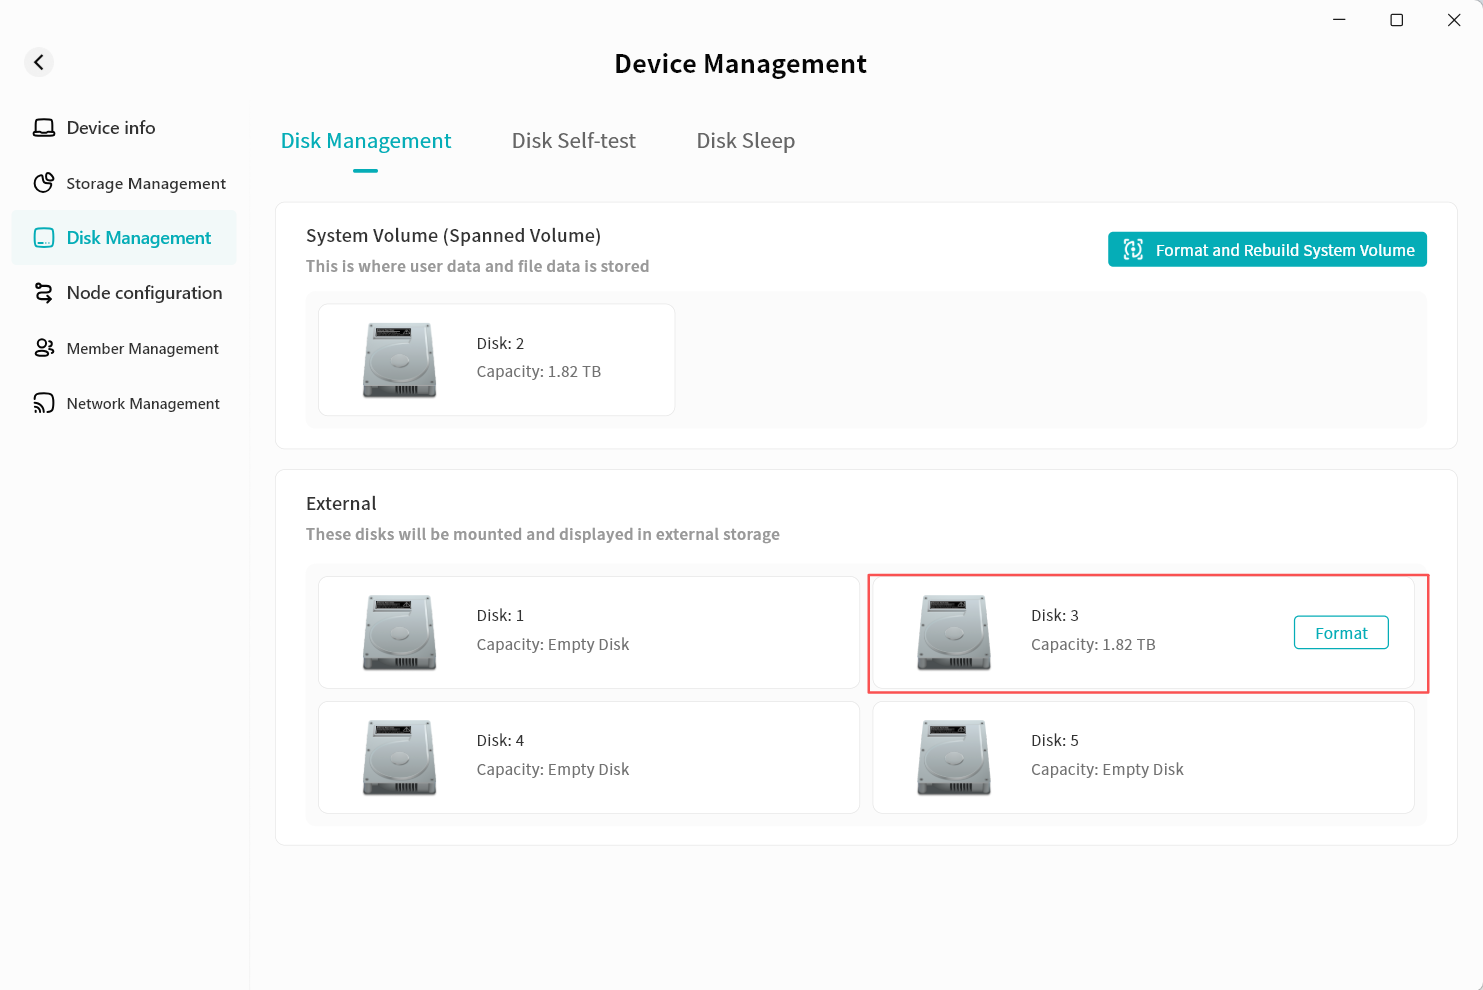
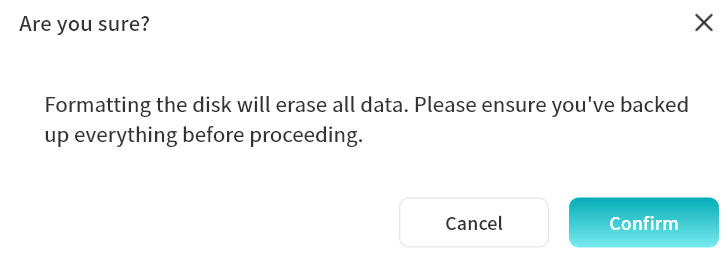
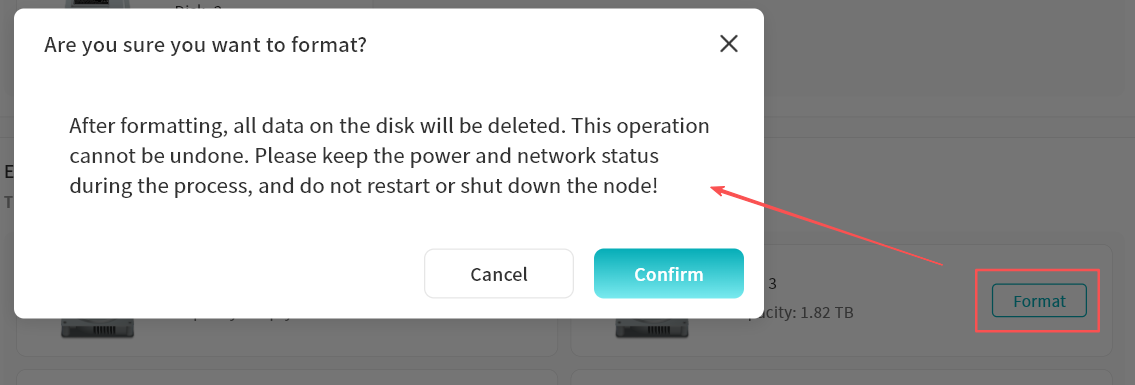
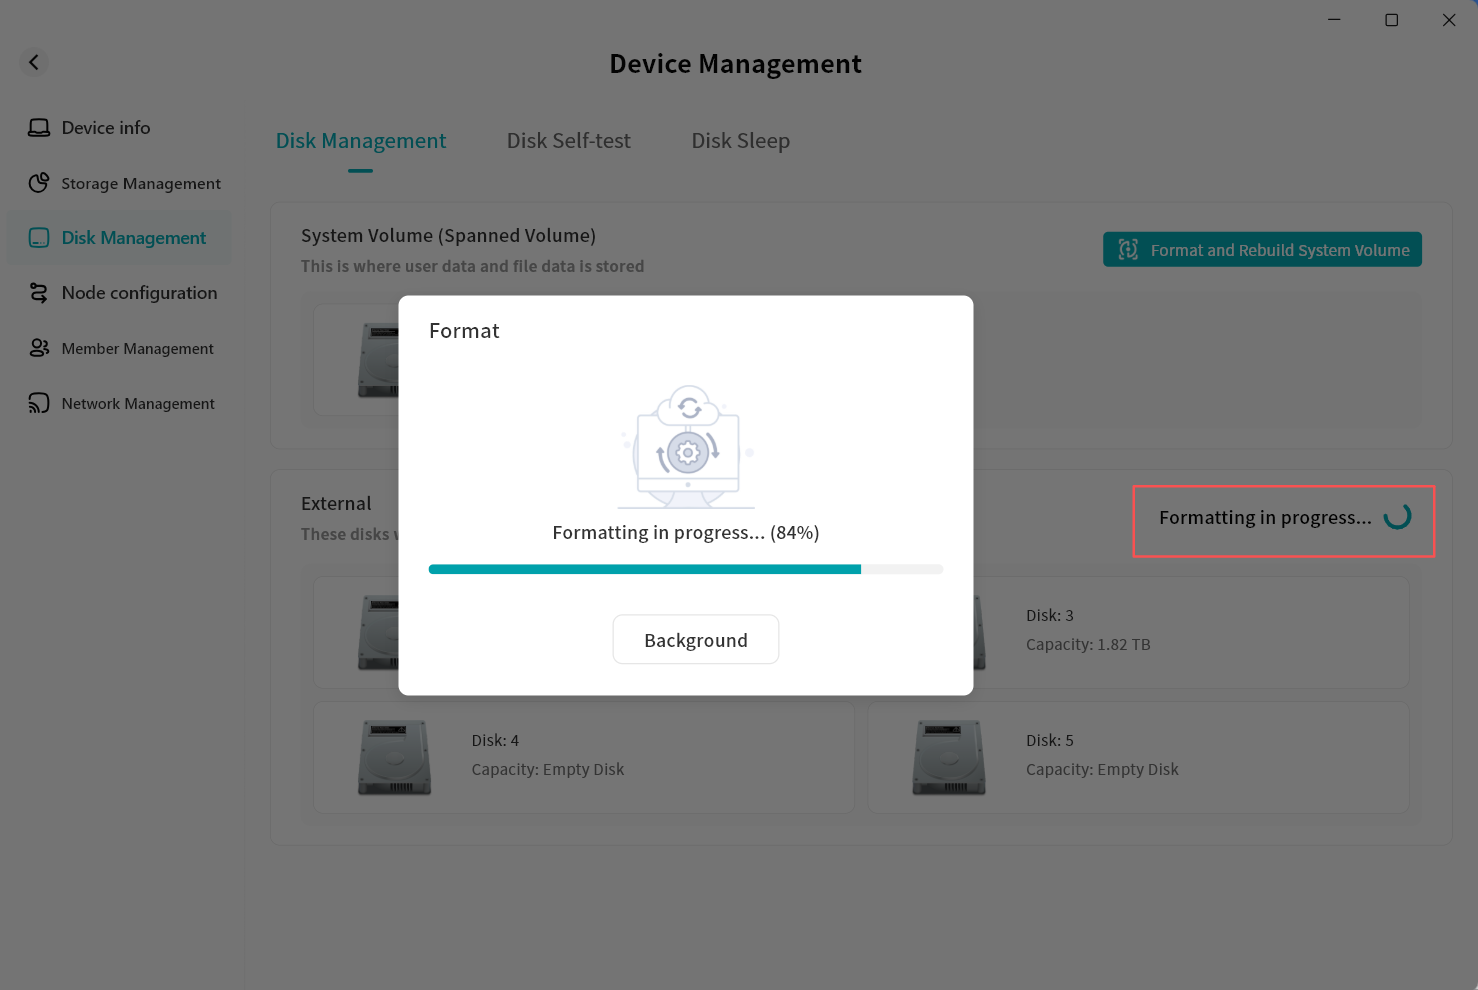
- For the disk you want to add to external storage, click Format.
- In the pop-up prompt, click Confirm.
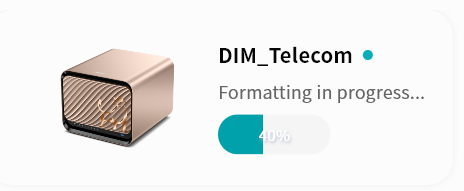
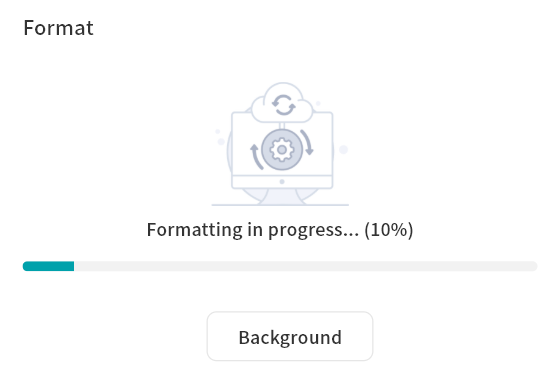
- The system will begin formatting. You can click Background to close the progress window while formatting continues in the background.
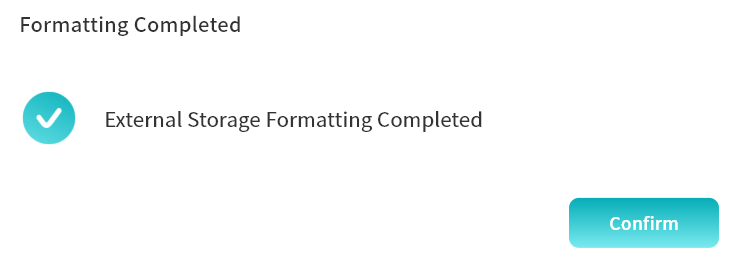
- After formatting is complete, the system will notify you that the task is finished, and the Pending Configuration status will be removed.
- Go to Applications - External Storage to see the disk added as external storage.
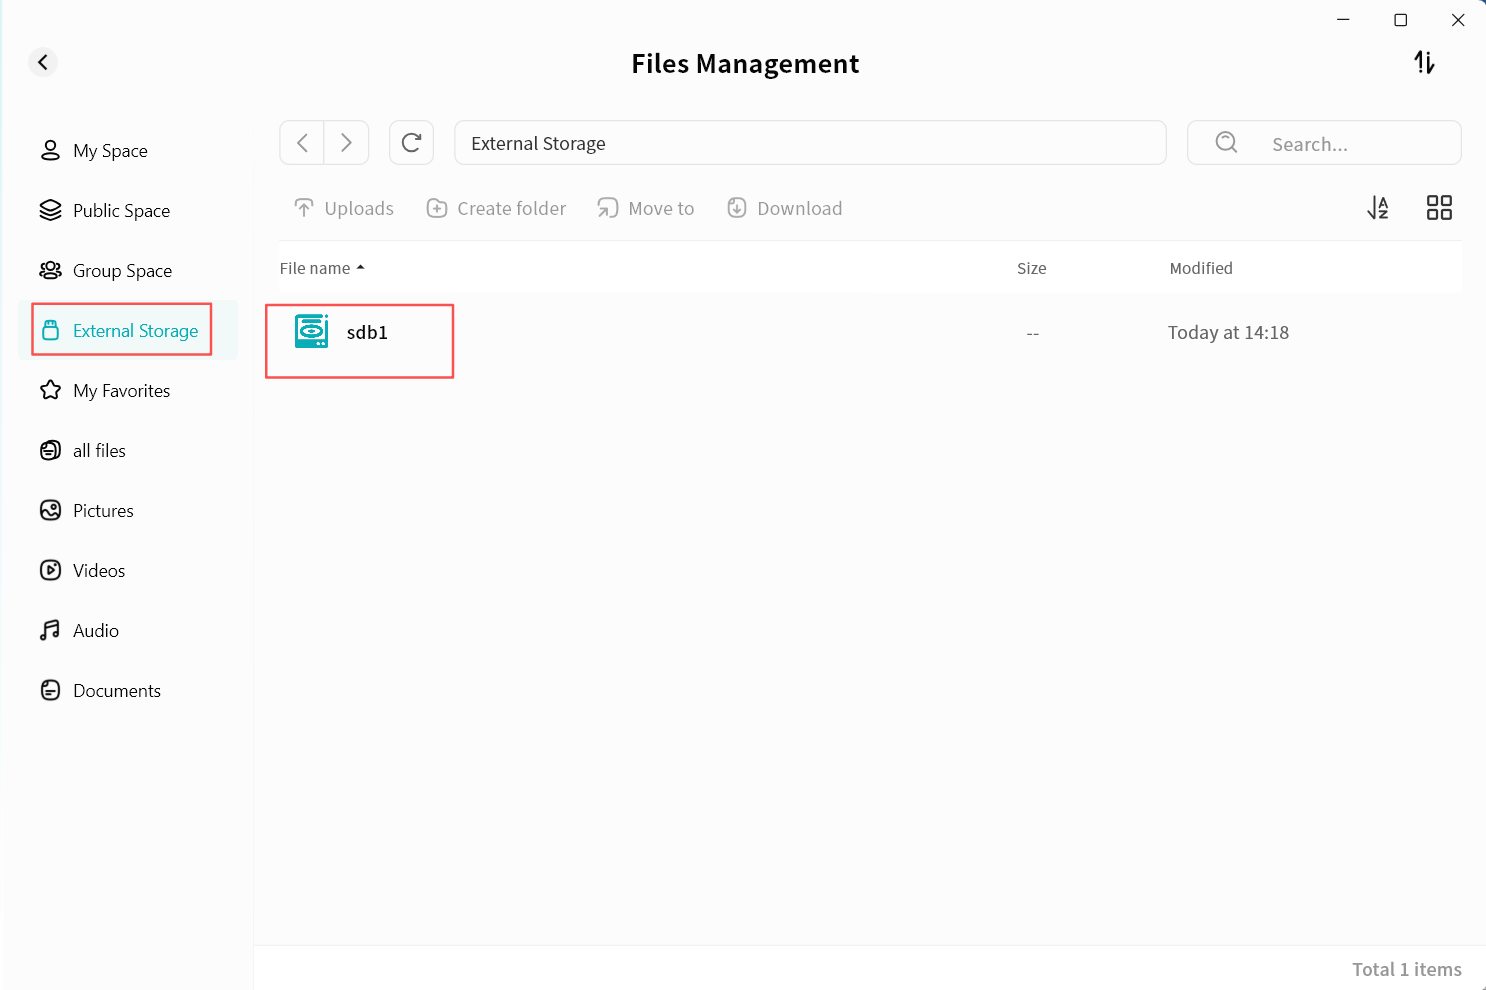
- Double-click the disk name to enter the external disk and perform file operations.
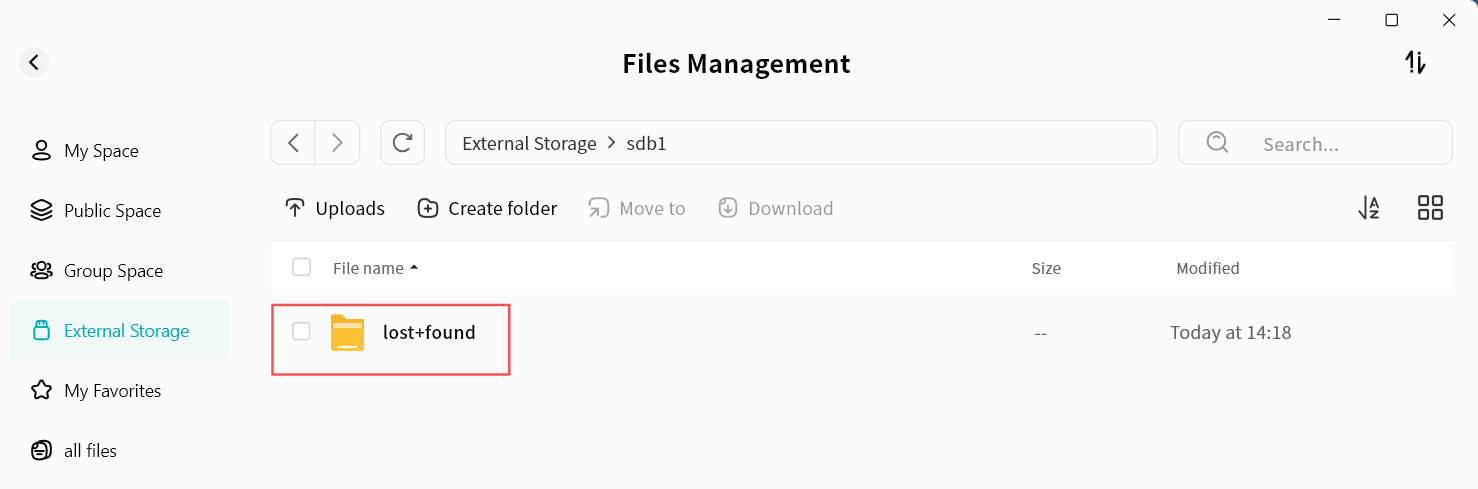
To avoid abnormal behavior, do not delete the lost+found folder.
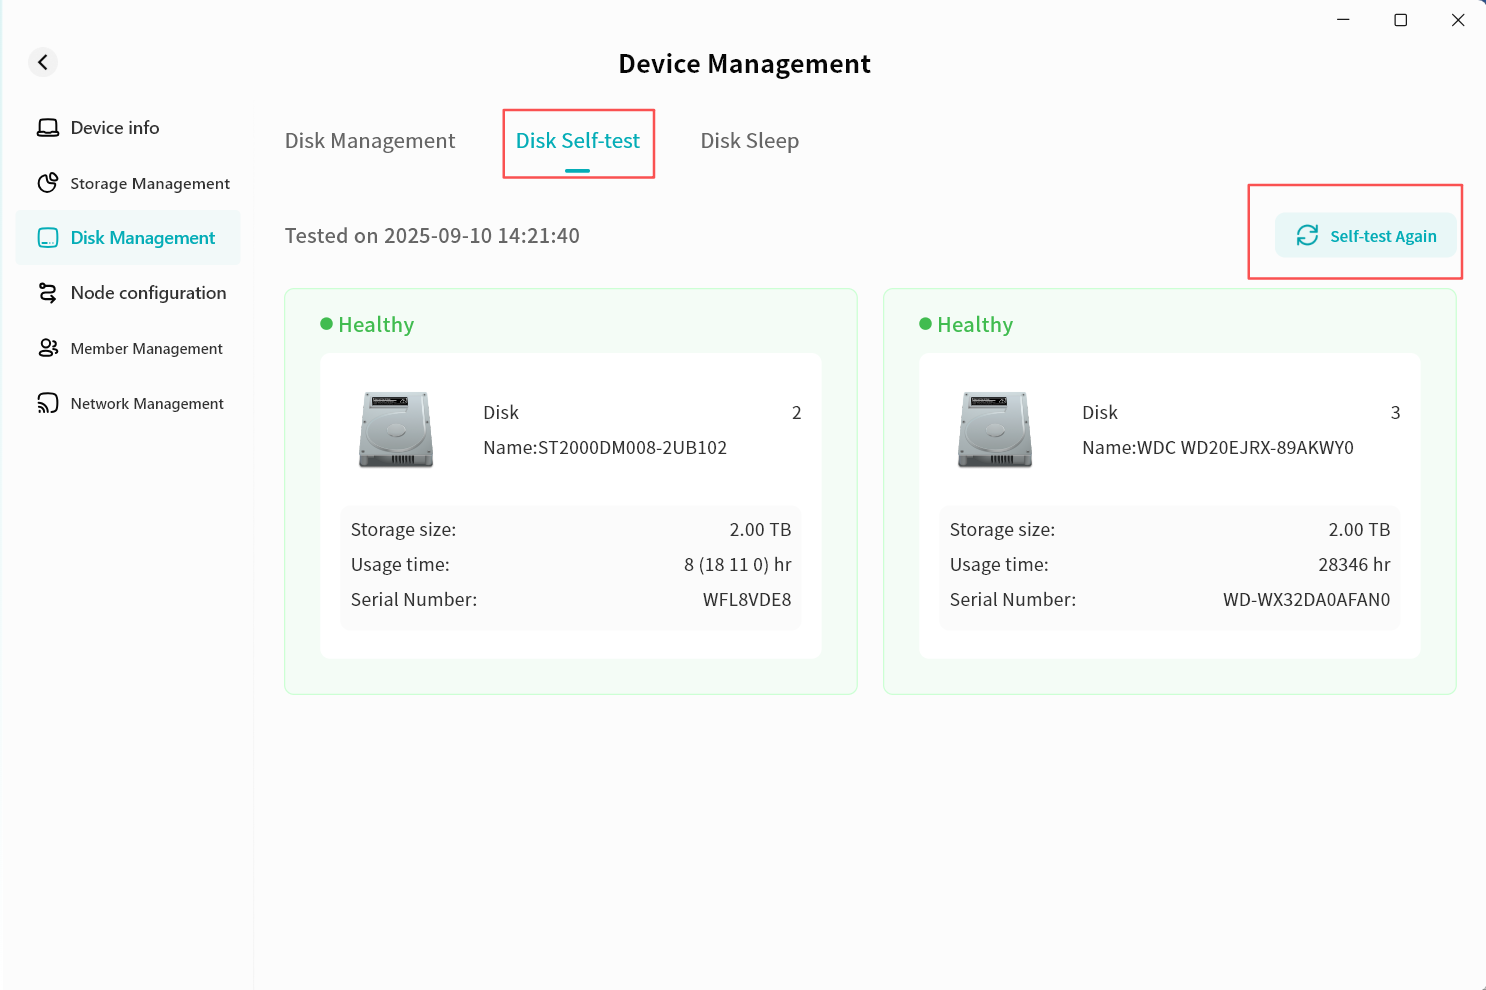
Disk Self-test
Performing a self-test on the hard drives helps you identify problematic disks in time and take appropriate action to prevent data loss. We recommend running a disk self-test periodically to ensure data integrity.
To run a disk self-test:
- Go to Device Information - Disk Management - Disk Self-test.
- Click Self-test Again.
- The system will begin scanning the hard drives. Please wait patiently for the process to complete (the time required may vary depending on disk size and type).
- Once complete, you will see the current health status of the hard drive along with the self-check completion time.
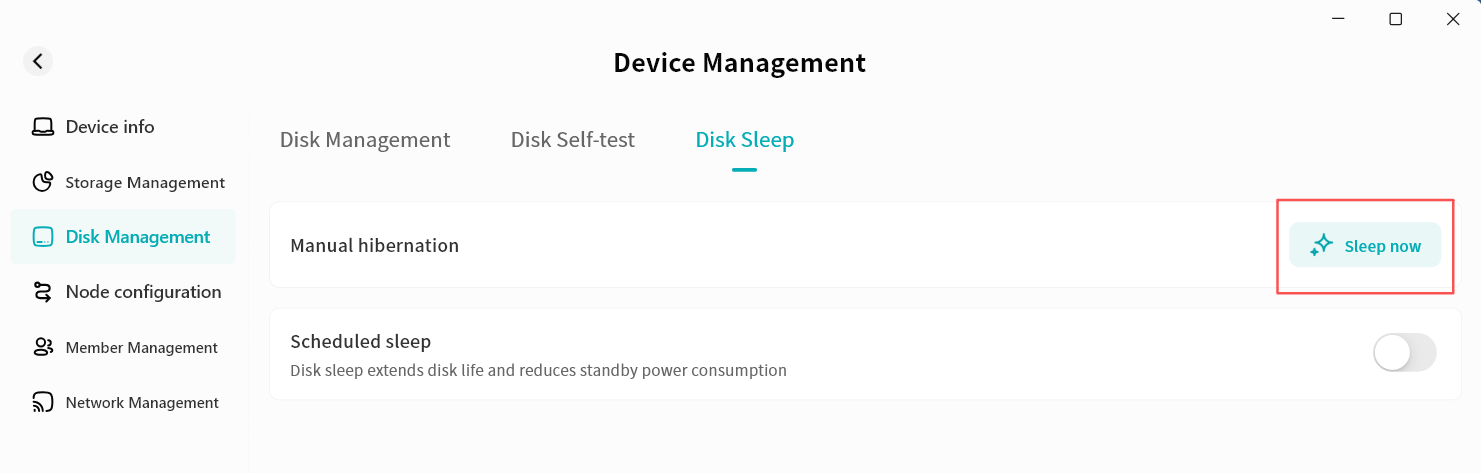
Disk Sleep
The purpose of disk sleep is to power-down hard drives when no read/write operations are occurring. This extends disk lifespan and reduces energy consumption while the device is idle.
Manual Hibernation
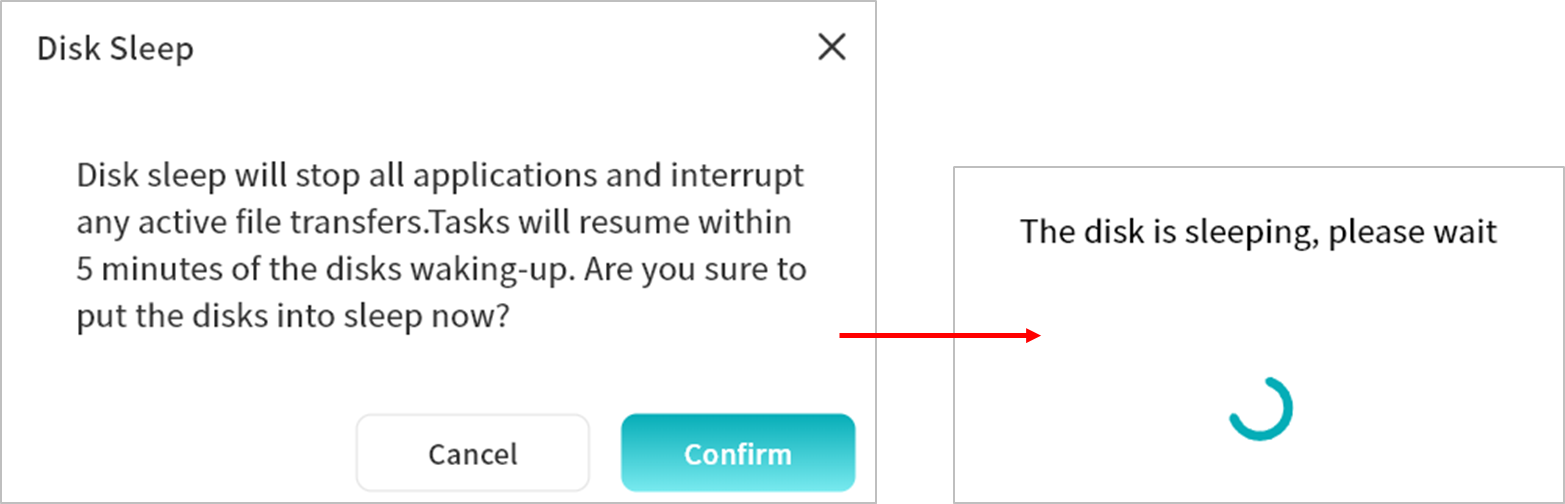
- Click Sleep Now.
- In the pop-up warning window, click Confirm. During disk hibernation, all applications and transfer tasks will be stopped.
- Once the disk enters hibernation, a notification will appear.
Scheduled Sleep
- Enable Scheduled Sleep to have the disks enter hibernation on a particular interval based on your usage of your DASSET Device.
- After enabling, configure the specific hibernation rules:
- System Time: The time zone of your client.
- Wake Time / Sleep Time: Set the start and end times for disk System Time: The time zone of your client.
- Repeat: Choose when the rule applies---Everyday, Weekdays, Weekends, or custom days of the week.
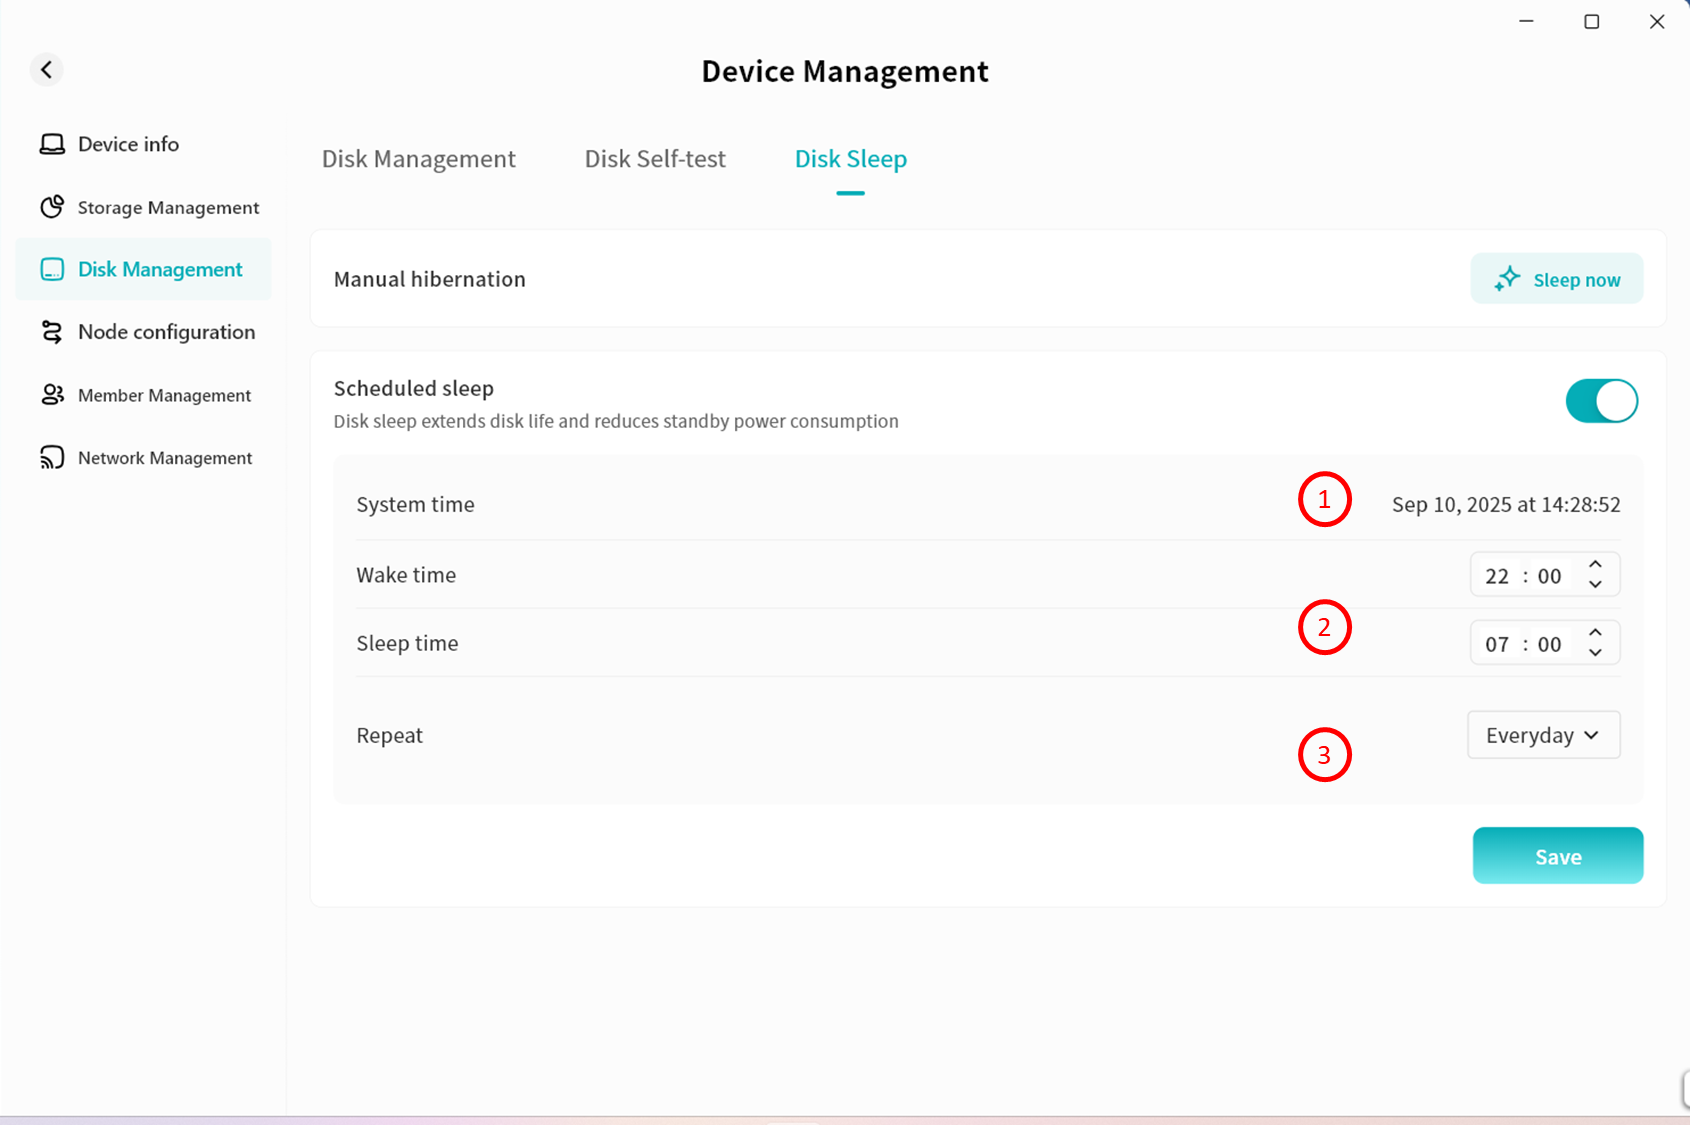
- If you no longer wish to use scheduled sleep, simply disable this option.
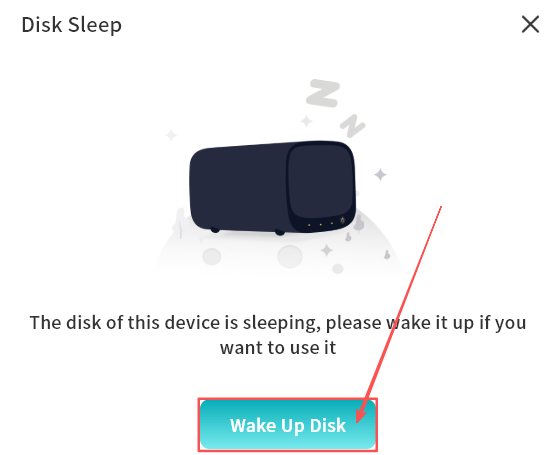
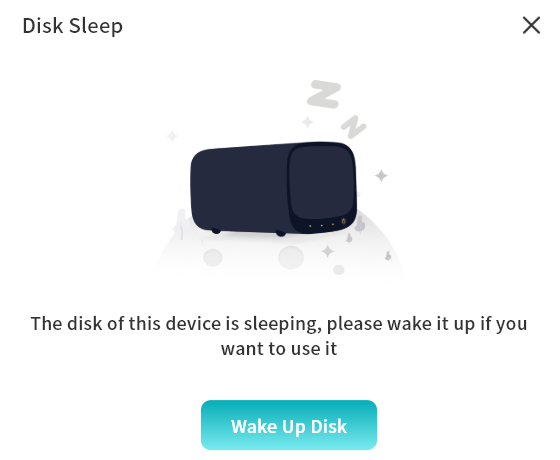
Wake Disk
After disks enter hibernation, the DASSET client will automatically prompt you upon accessing the device. You can click Wake Disk to re-enable the hard drives and resume normal operations on the DASSET device.