Node Configuration
Node configuration allows the DASSET device to expose its local network resources (e.g., at home) for remote access. This enables users to access home network resources such as cameras, printers and other devices when they are not on the local network. Only Owners and Administrators can configure this feature.
Example: If you configure your home printer's IP address in Node Configuration, you can log in to the DASSET client from your office and use the DASSET device as a relay node to connect to your home printer for printing. All communication during this process is encrypted.
Node Configuration provides three functions:
- Allow access to the network through this node: When enabled, users can use this DASSET device as a relay node to access the Internet.
- Use a dedicated DNS: Configure a dedicated DNS address so domain names can be resolved using your chosen DNS, avoiding domain pollution.
- Allow access to the subnet of the device: Configure access to the local network resources where the DASSET device is located, enabling remote access via the DASSET hardware relay.
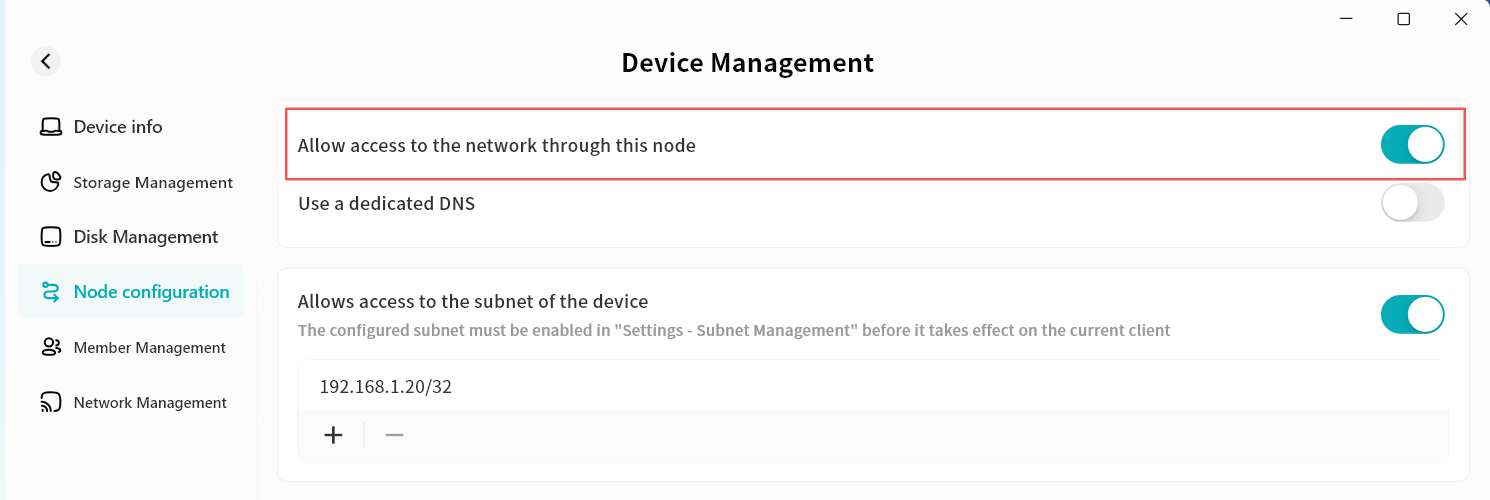
Allow access to the network through this node
When enabled, if you activate the Node function on the device home page, all your Internet traffic will first be sent to the DASSET device, and then forwarded to the target website.
Note: All communications are encrypted by the SDVN virtual network, so you do not need to worry about your data being decrypted or read by others.
Once enabled, all users bound to this device can use this function. Please enable it with caution.
Example: If you are at a café in City A and need to use online banking but are concerned about Wi-Fi security, you can log in to the DASSET client and select the Node function on your home device in City B. Your online banking data will be encrypted and tunneled to the DASSET device in City B before being forwarded to the bank's server. Even if the café's Wi-Fi is being monitored, hackers cannot obtain your banking information because the traffic is encrypted.
Steps:
- Go to Device Management Node Configuration and enable Allow Internet Access Through This Node.
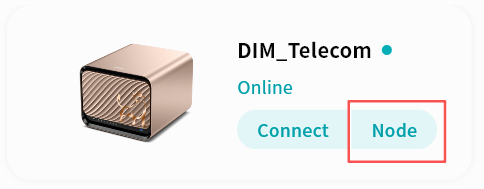
- After enabling, you will see a Node button appear on this device's card in the device home page.
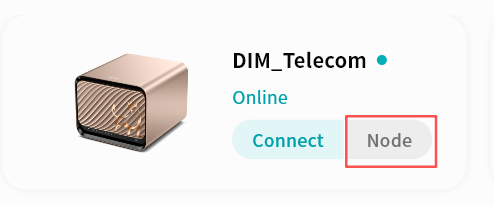
- Click Node, then confirm in the pop-up window.
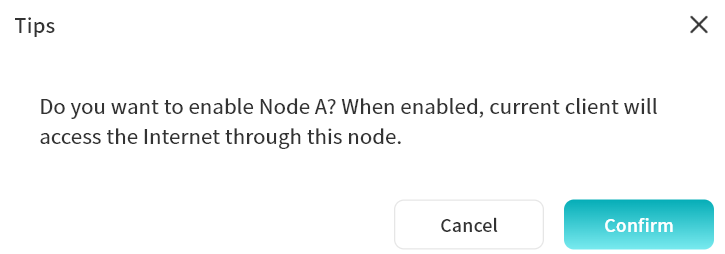
- The Node button will appear active, and all subsequent Internet access will be routed through this device.
Use Dedicated DNS
When enabled, you can configure a specific DNS server for domain name resolution. This is useful if Internet access through DASSET hardware seems slow, allowing you to choose a faster DNS server.
Ensure the DNS server you configure is valid. If it is unavailable, domain names may fail to resolve, making URLs inaccessible. If you are unsure, it is not recommended to enable this function.
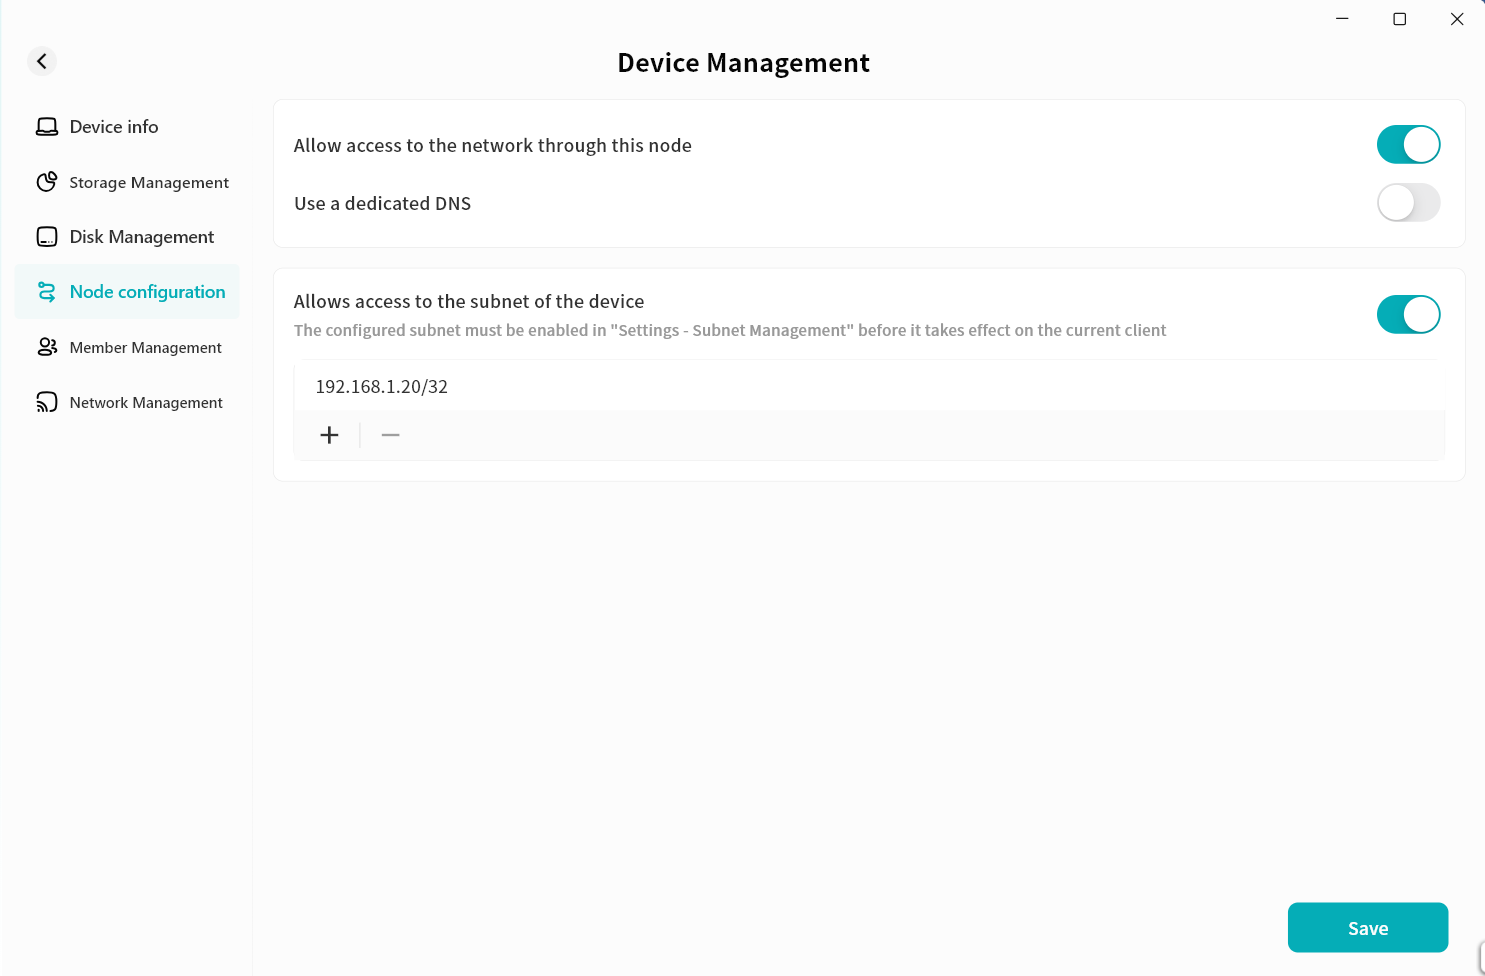
Allow Access to Device Subnet
This function allows remote access to local network resources via the DASSET hardware relay.
Once configured, all users bound to this device can access the subnet IP addresses you specify. Configure carefully to avoid privacy risks. The device must be on the same LAN as the target subnet.
Example: If you configure your home printer's IP address in Node Configuration, you can log in to the DASSET client from the office and use the device as a relay node to print documents remotely. All communication is encrypted.
Steps:
- Go to Device Management - Node Configuration and enable Allow Access to Device Subnet.
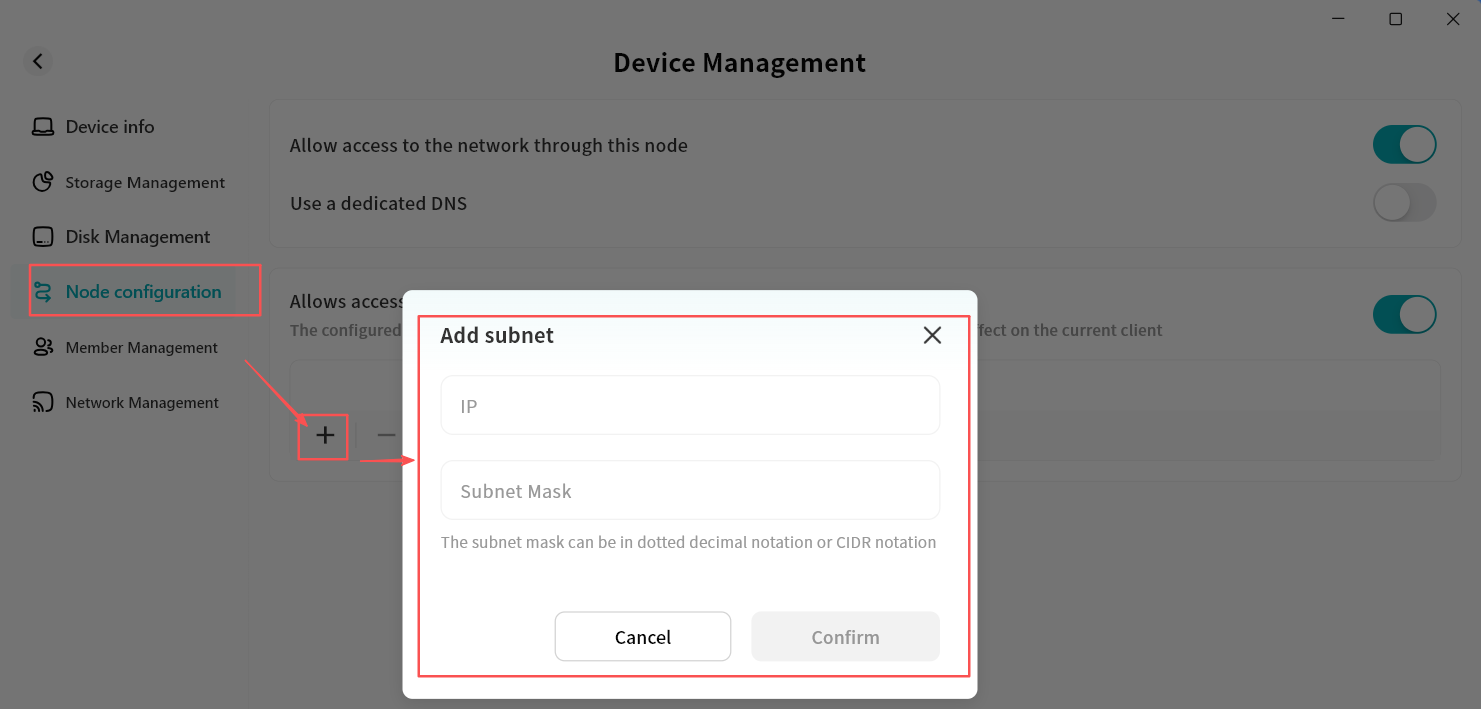
- Click the "+" icon to add a new device or subnet for access.
- Sharing a single device: To access a single device, such as a printer, enter the IP address of the printer in the IP Address field. Enter /32 or 255.255.255.255 in the Subnet Mask field and click Confirm.
- Sharing an entire subnet: To access an entire subnet, which would provide access to all devices on the subnet, enter the subnet IP address with the last segment being "0" (eg; 192.168.5.0). Enter /24 in the Subnet Mask field and click Confirm
It is recommended to use subnet addresses to reduce the risk of IP conflicts.
Example Scenario: Remote Work
A user places a DASSET device in the office and enables sharing of the office computer's network resources. While at home or on a business trip, the user can securely and easily control the office computer through the DASSET device, enabling efficient remote work.
Network Management
On the Network Management page, you can configure:
- LAN Settings: Change the password for Samba and Time Machine access.
- LAN IP Management: Configure the DASSET device's network information.
- Link Aggregation: If your device has multiple network ports, you can aggregate them into a single logical port to improve transfer performance.
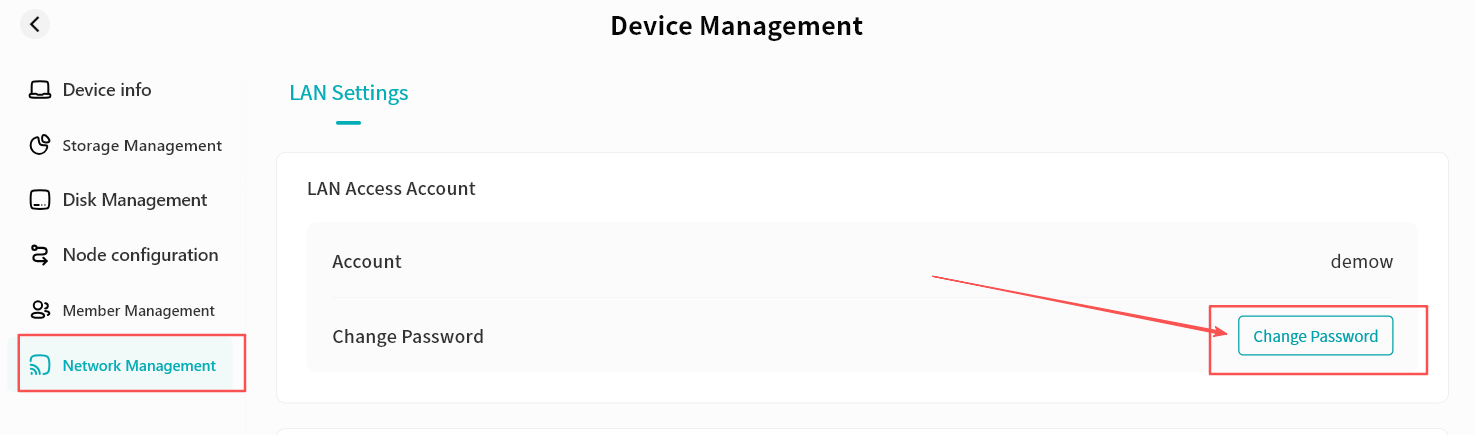
LAN Settings
- Click Change Password.
- In the pop-up window, enter the new password and click Confirm.
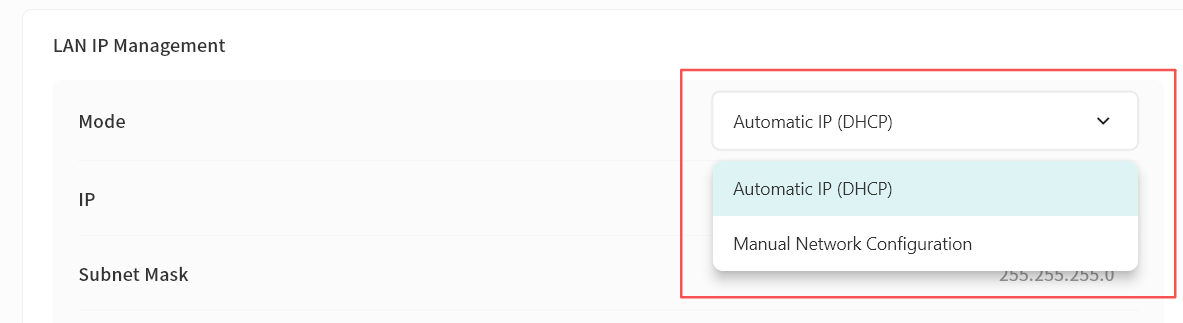
LAN IP Management
LAN IP address management supports two modes:
- Automatic IP (DHCP): The switch assigns the device an IP automatically, requiring no manual configuration. Suitable for out-of-the-box use without networking knowledge.
- Manual Network Configuration: Assign a fixed IP address to the device. Recommended for scenarios requiring a stable IP, such as Samba services.
When manually configuring IP, ensure the address matches the connected network segment and is not already in use. If the device cannot come online after manual configuration, press and hold the device's reset button to restore IP settings.
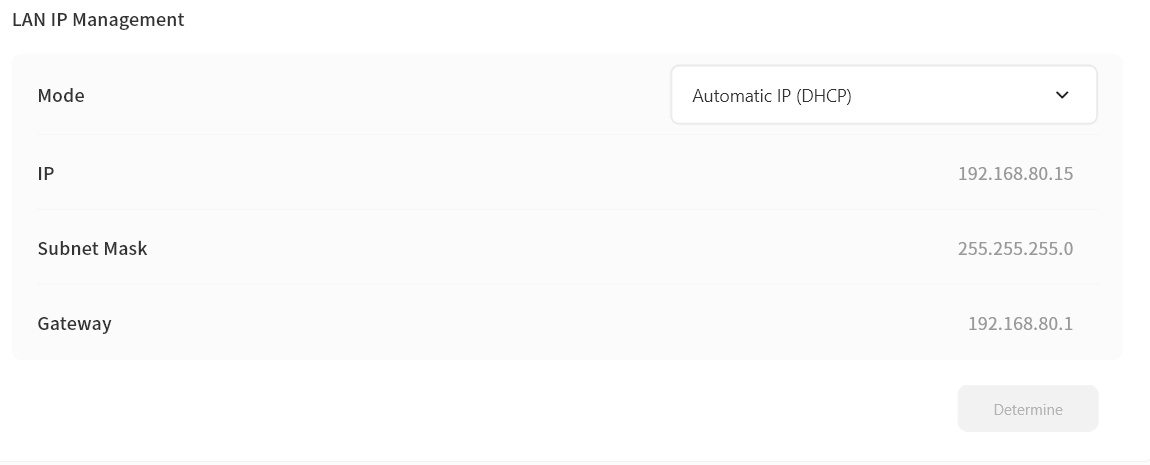
Automatic IP (DHCP)
By default, DASSET devices use DHCP for ease of setup. On the LAN IP Management page, you can view:
- Current IP address of the device
- Subnet mask
- Gateway IP address
DHCP-assigned IPs cannot be modified manually.
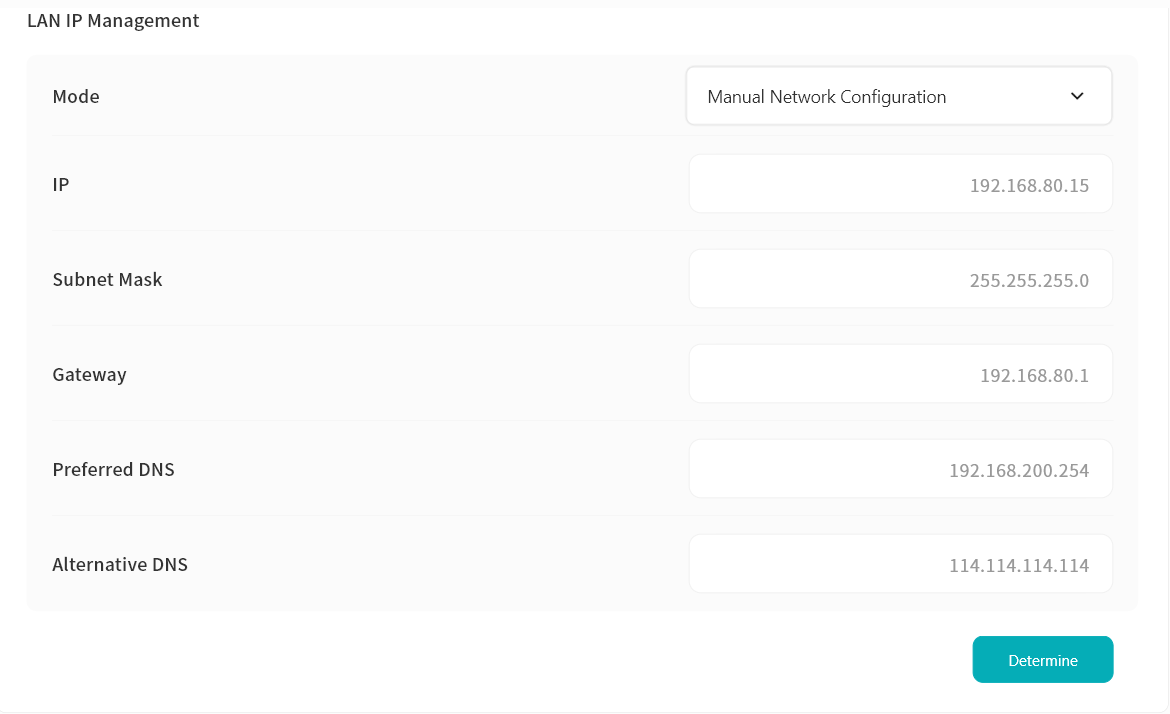
Manual Network Configuration
Recommended for Samba or similar services to avoid IP changes caused by DHCP. When enabled, you can configure:
- IP address
- Subnet mask
- Gateway
- Primary and secondary DNS After setup, you can access services like Samba using the fixed IP address.
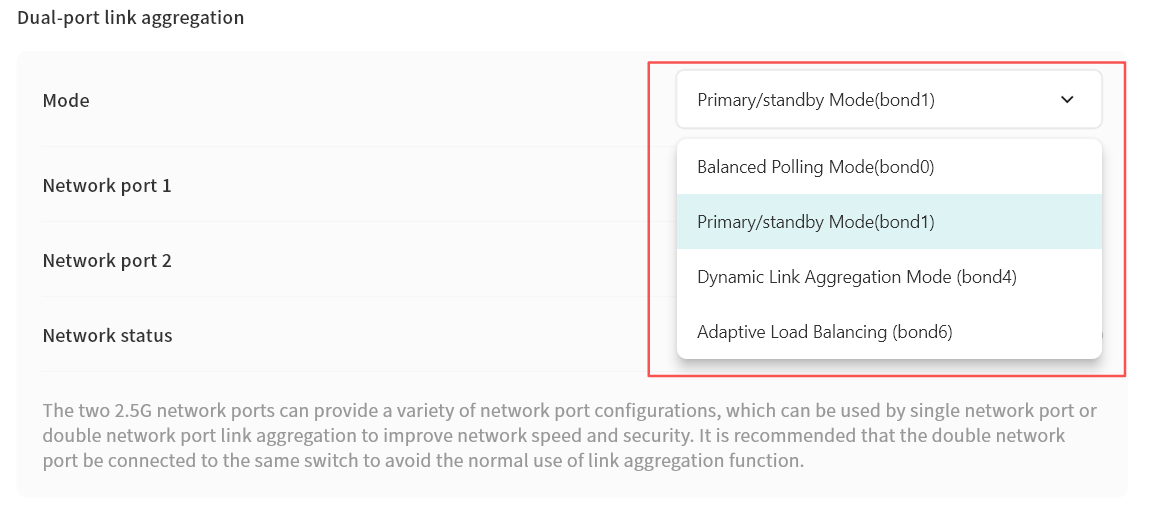
Dual-port Link Aggregation
If your device has multiple network ports, you can connect multiple cables and configure link modes in Network Management:
- Balance Polling Mode: Network ports take turns transmitting packets, providing load balancing and fault tolerance. Requires switch support for port aggregation.
- Primary/standby Mode: One port is active while the other serves as backup. The backup port takes over if the primary fails.
- Dynamic Link Aggregation (IEEE 802.3ad LACP): For switches supporting LACP. Provides real-time link monitoring, load balancing, and failover.
- Adaptive Load Balancing: Distributes traffic automatically across ports without requiring special switch support.
To avoid issues, connect both network ports to the same switch when using link aggregation.